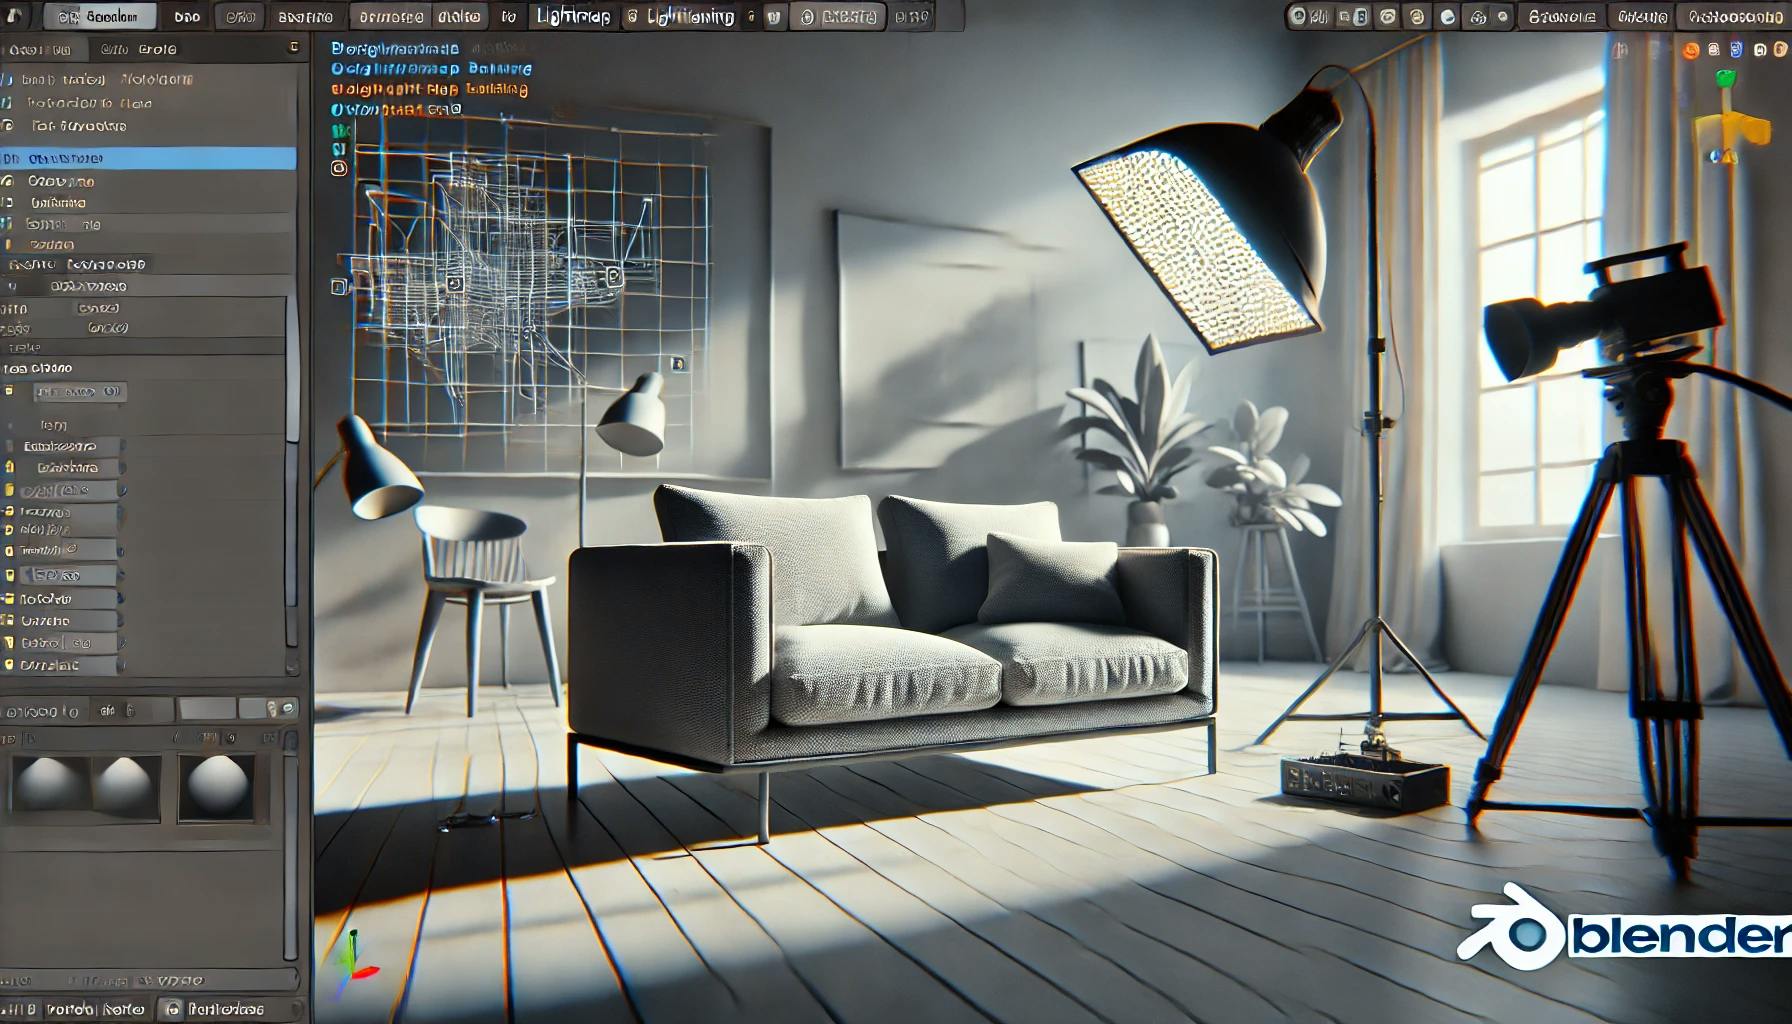
Blender Lightmap Baking Explained: Enhance Your 3D Scenes with Baked Lighting
Before we begin, ensure you follow these key principles:
Subdivision, are applied.1.Image Texture node.32-bit float image for baking.Bake Type.View From to Active Camera.Image Texture and press Bake.Let’s follow the framework and implement it with an object

The scene is very simple with just one sofa model, which contains 6 individual objects
We have one Area light and one ground plane
Check the current result comparison

On the left side the result of
GLTFviewer & on the right side the result ofblender cyclerender
Before making modifications, save a copy of the original file to avoid irreversible changes.
Check if any object has active modifiers. Apply them if they affect the mesh.

Let’s Apply the modifier

Select the individual object of the 3d model and on the right-side panel check if the scale is set to 1

If the scale is not set to 1 , then Ensure the object's scale is set to 1. If not:
Ctrl + A.All Transforms to normalize the scale.
Enable Face Orientation to check if normals are correctly aligned.

Go to UV Editing mode,

A key).u then select Smart UV
If you are happy with the UV make sure to pack uv by pressing F3, searching for Pack Islands.

uv quality using a checker map
Here I used an addon called textools
https://github.com/franMarz/TexTools-Blender
If you press the Checker Map button it will add checker pattern material to the 3d model, you remove the material using the Delete button beside the Checker Map button
Camera.Ctrl + 0 to set it as the active view.Shift + (Backtick) and movement keys (WASD).CyclesNavigate to Render Properties and select Cycles as the Render Engine.
each object has a unique material.
Make sure your material is unique to every object by pressing on the number display, this will make the material unique.
Make sure to rename your material.
Image Texture node for every shader+ New), ensuring it is 32-bit float.
Render Properties > BakeBake SectionBake Type to Combined & add other settings and press on the Bake button
Once the render is done, the rendered image should be added to the Image Texture


Replace the original material with the baked texture:
Base Color input of the Principled BSDF.material properties as necessary.
Adjust the setting

Export the model in GLTF format and inspect it in a GLTF Viewer to confirm the results.

Discover how to significantly improve your video editing workflow by leveraging audio transcription to remove audio silences with a single click.
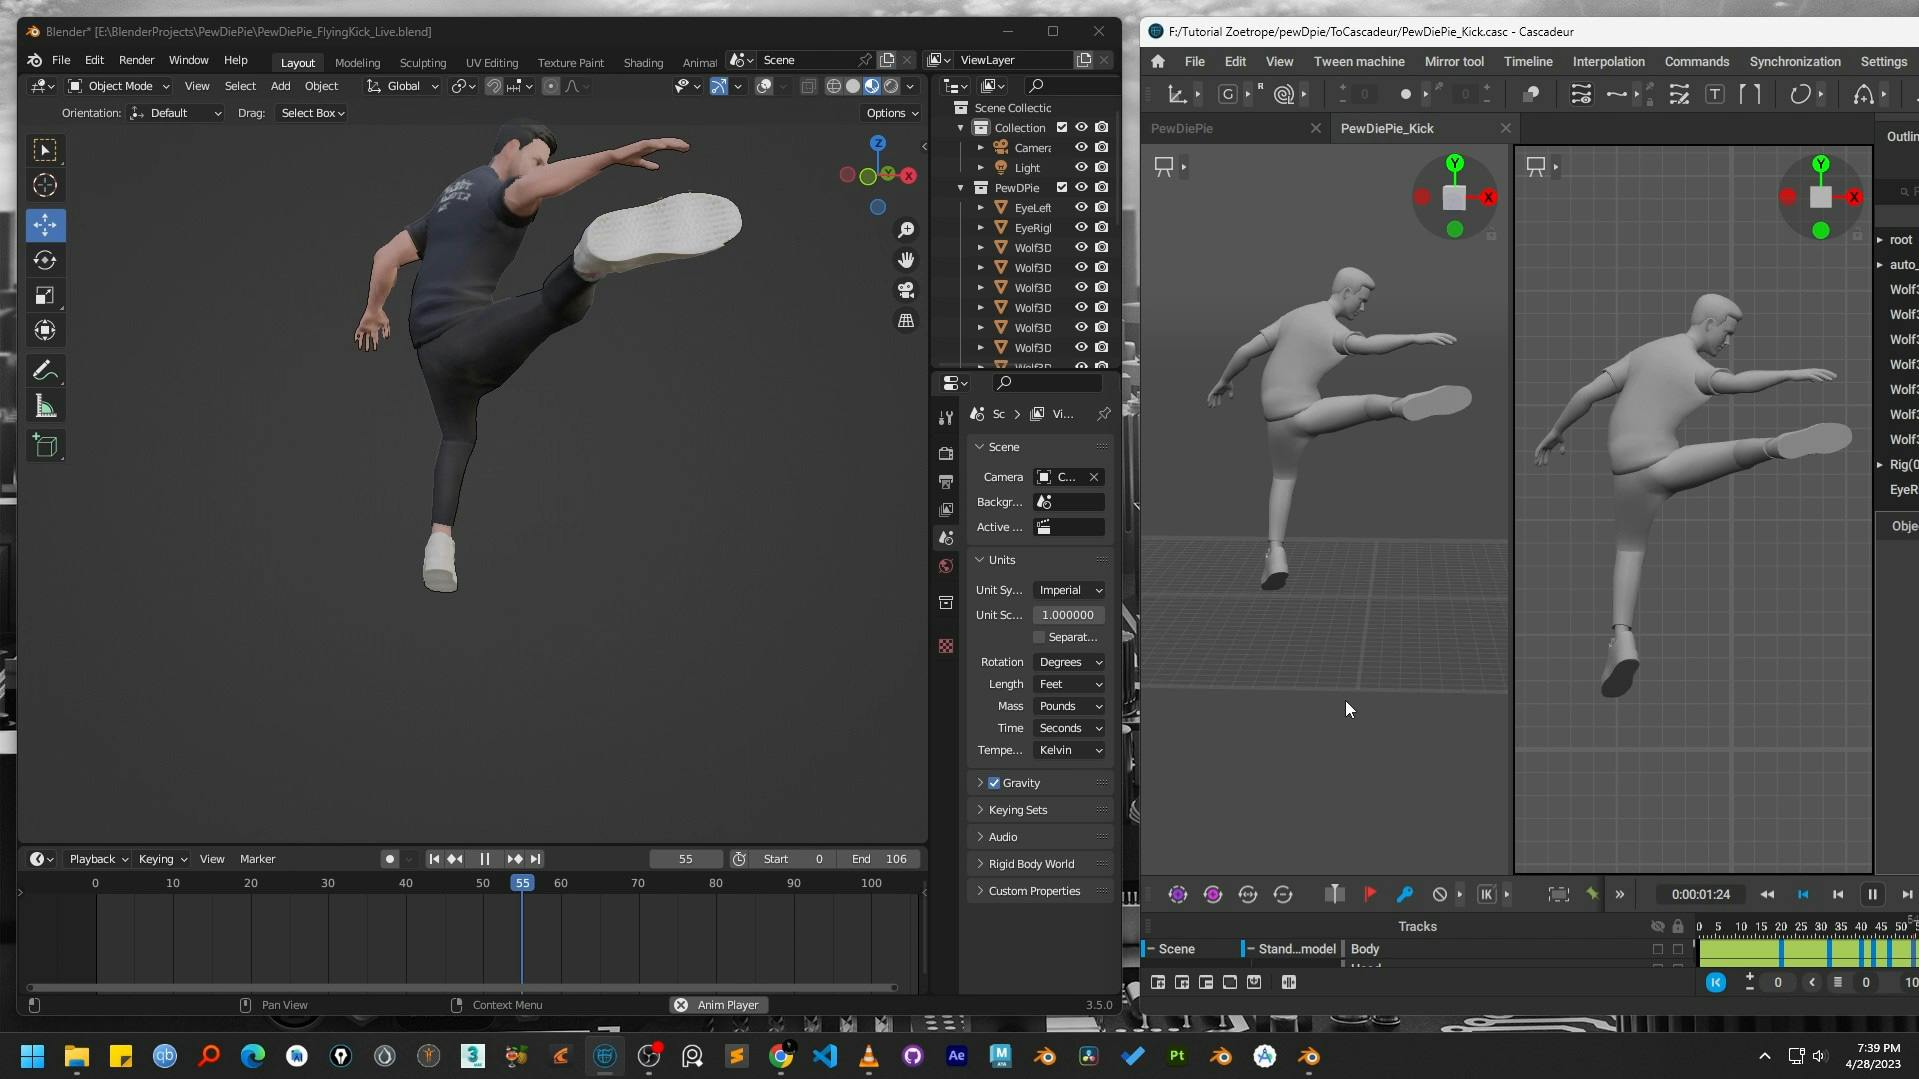
Learn the step-by-step process to retarget character animations from Cascadeur to Blender using the powerful Auto-Rig Pro addon. A complete workflow guide.
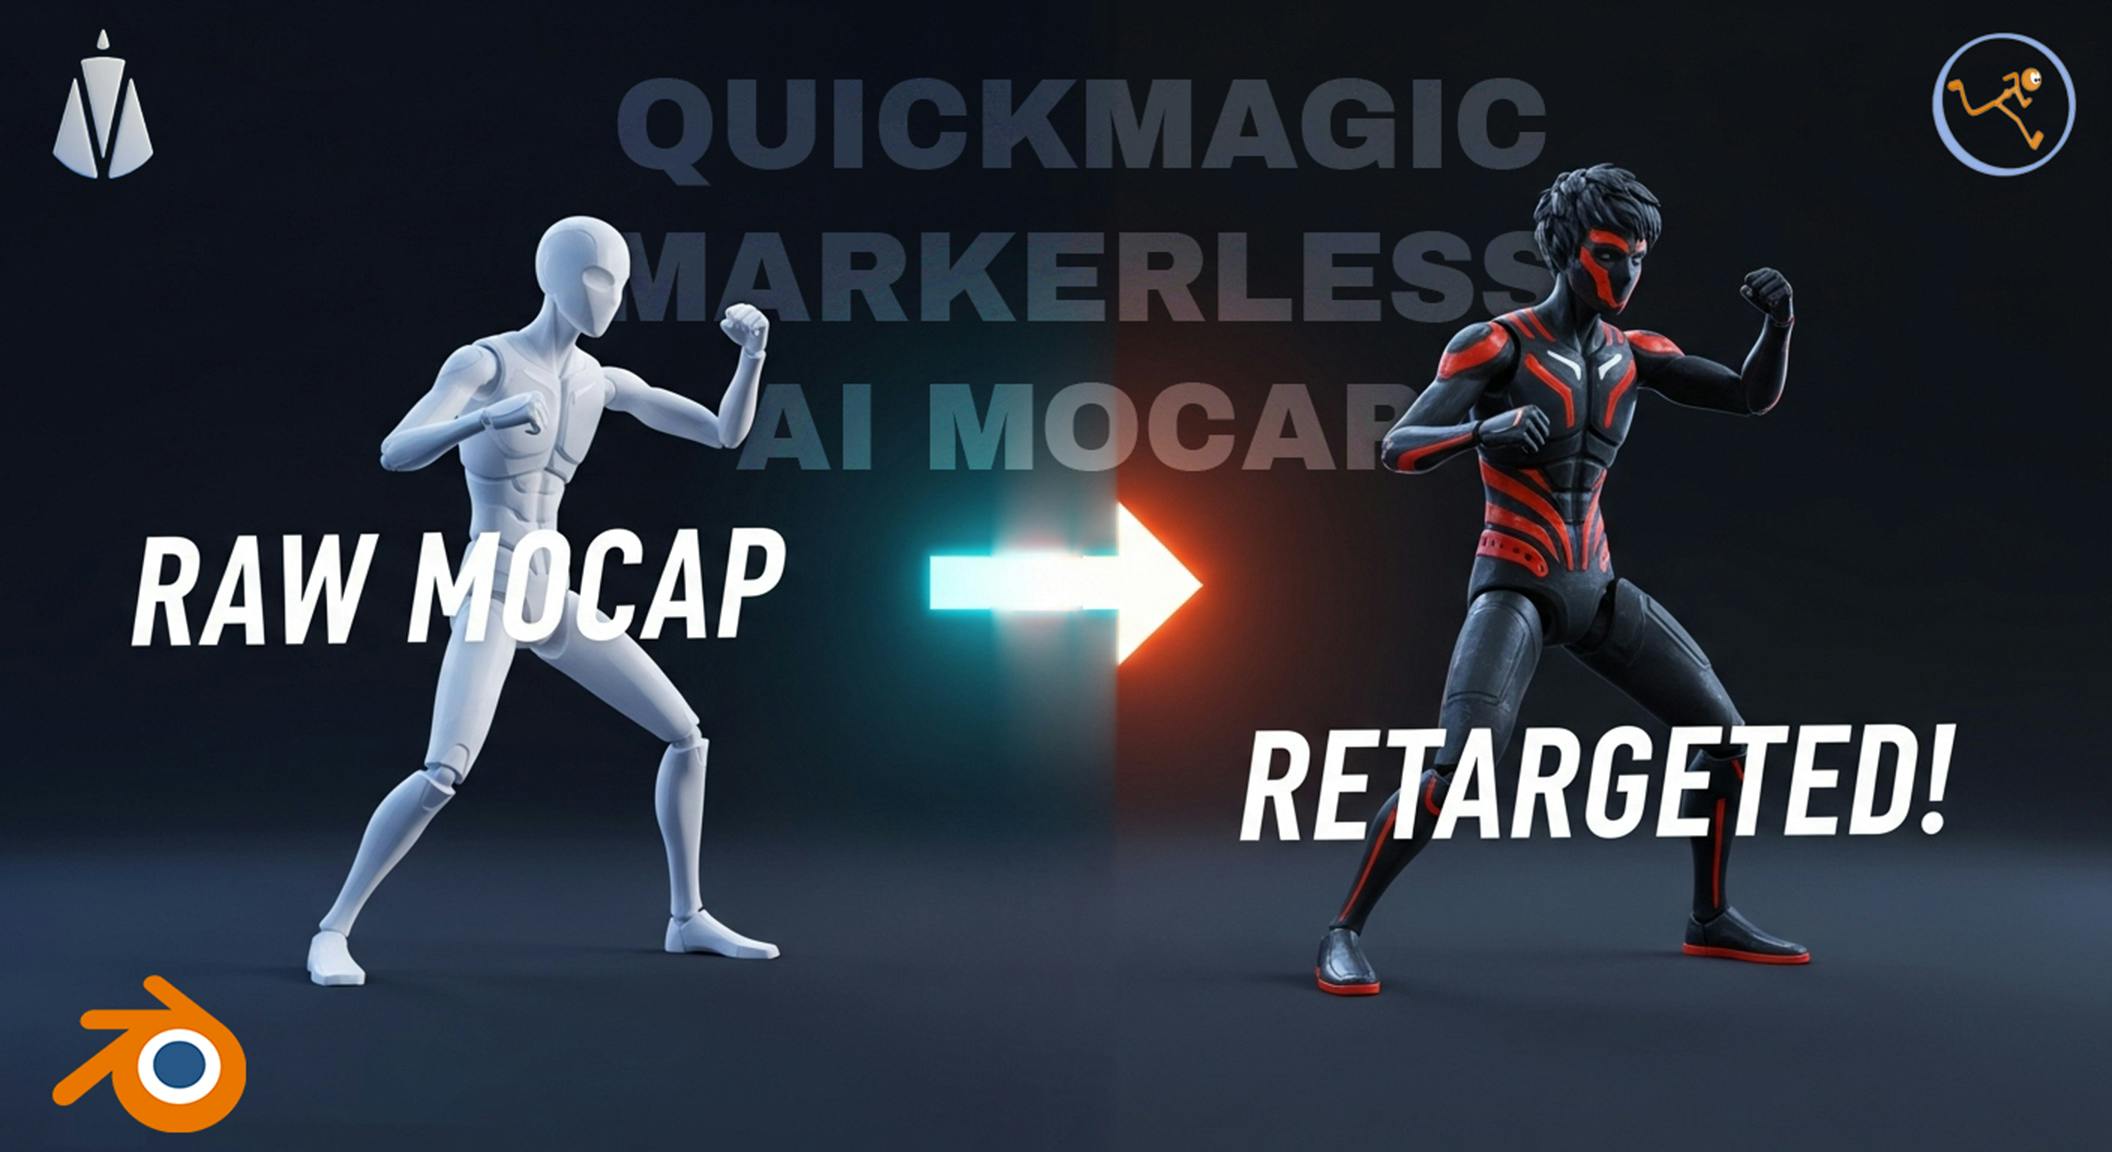
Learn how to easily retarget QuickMagic motion capture data onto any character in Blender with this step-by-step guide using the Auto-Rig Pro addon