Blender Seamlessly Join Objects in Blender Without Merging
In this tutorial, we will explore how to render two separate objects in Blender in a way that appears as though they are seamlessly merged, all without actually combining them into a single object. Follow the steps below to achieve a smooth transition between the objects.
The first step is to activate the Snap tool with the following settings, allowing us to move one object to another with precision.

Make sure to adjust the snap settings to fit your specific needs, ensuring the objects align correctly.
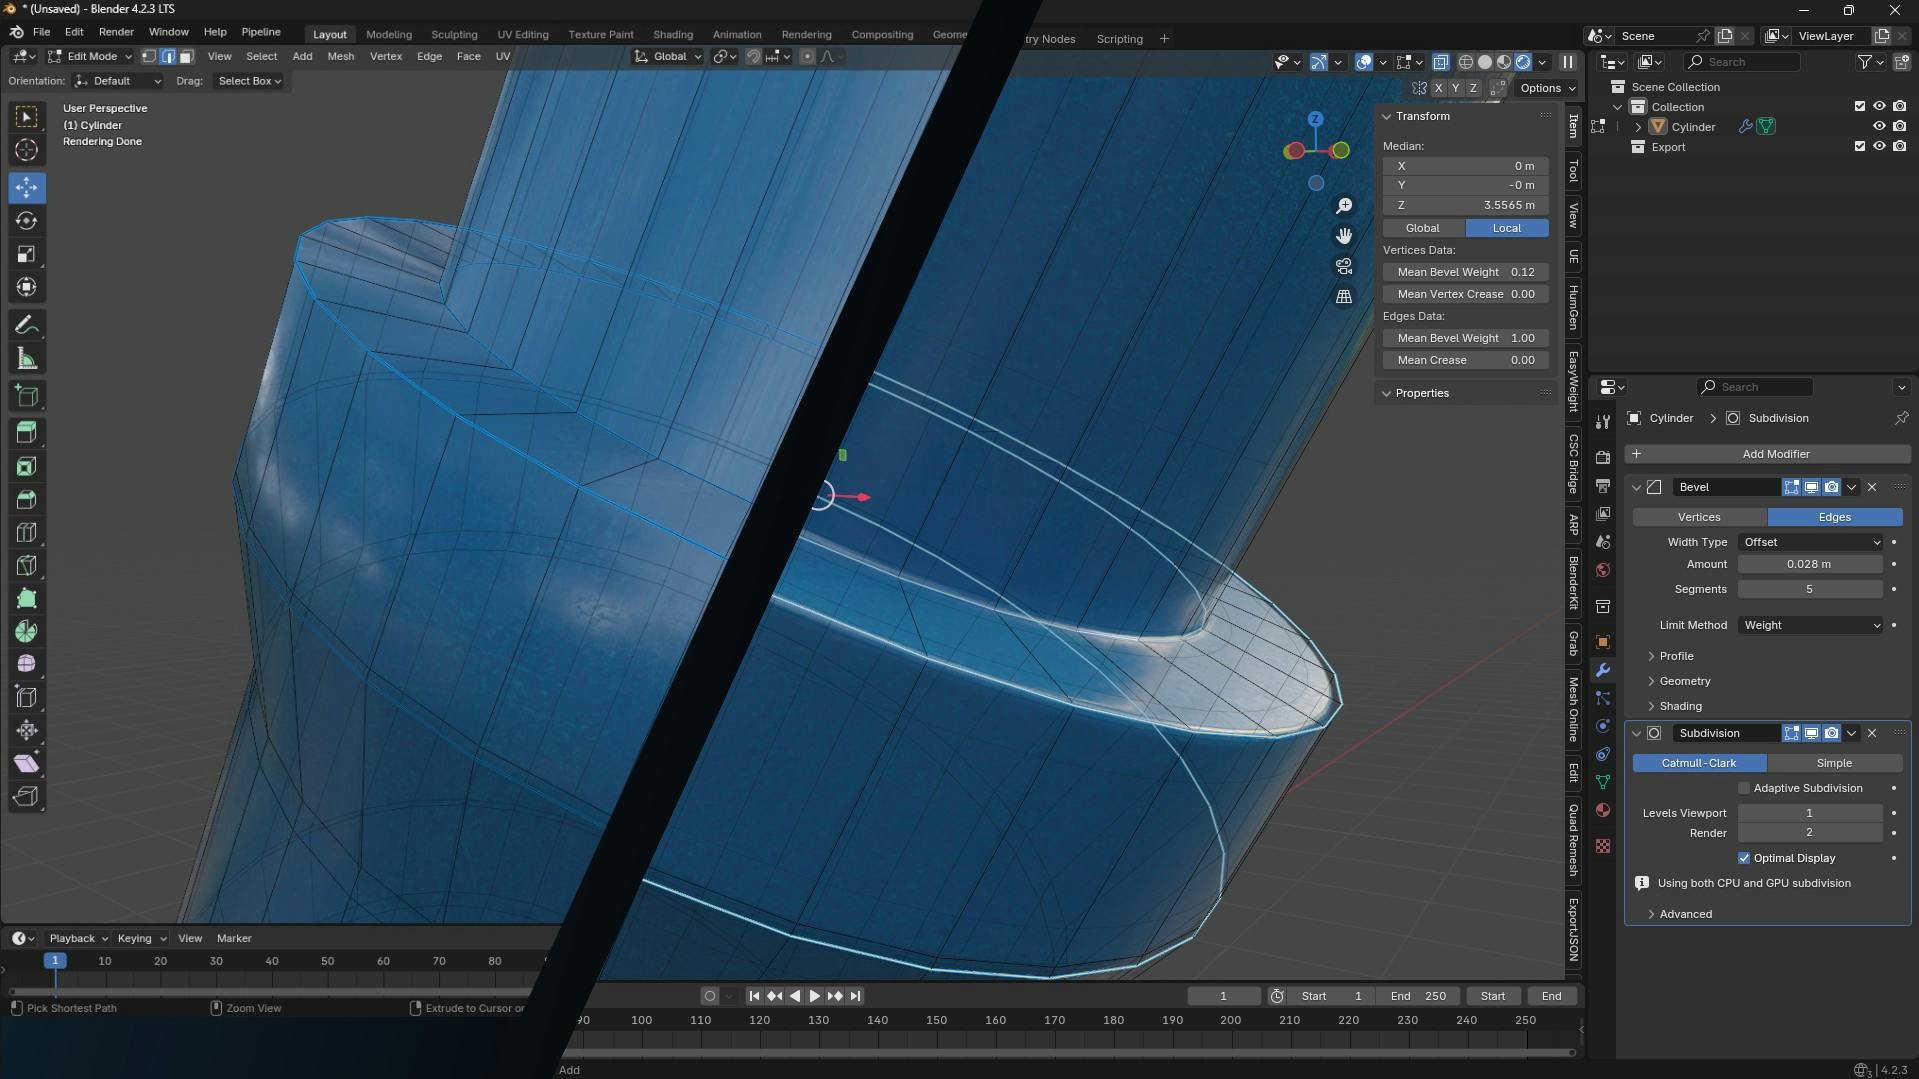
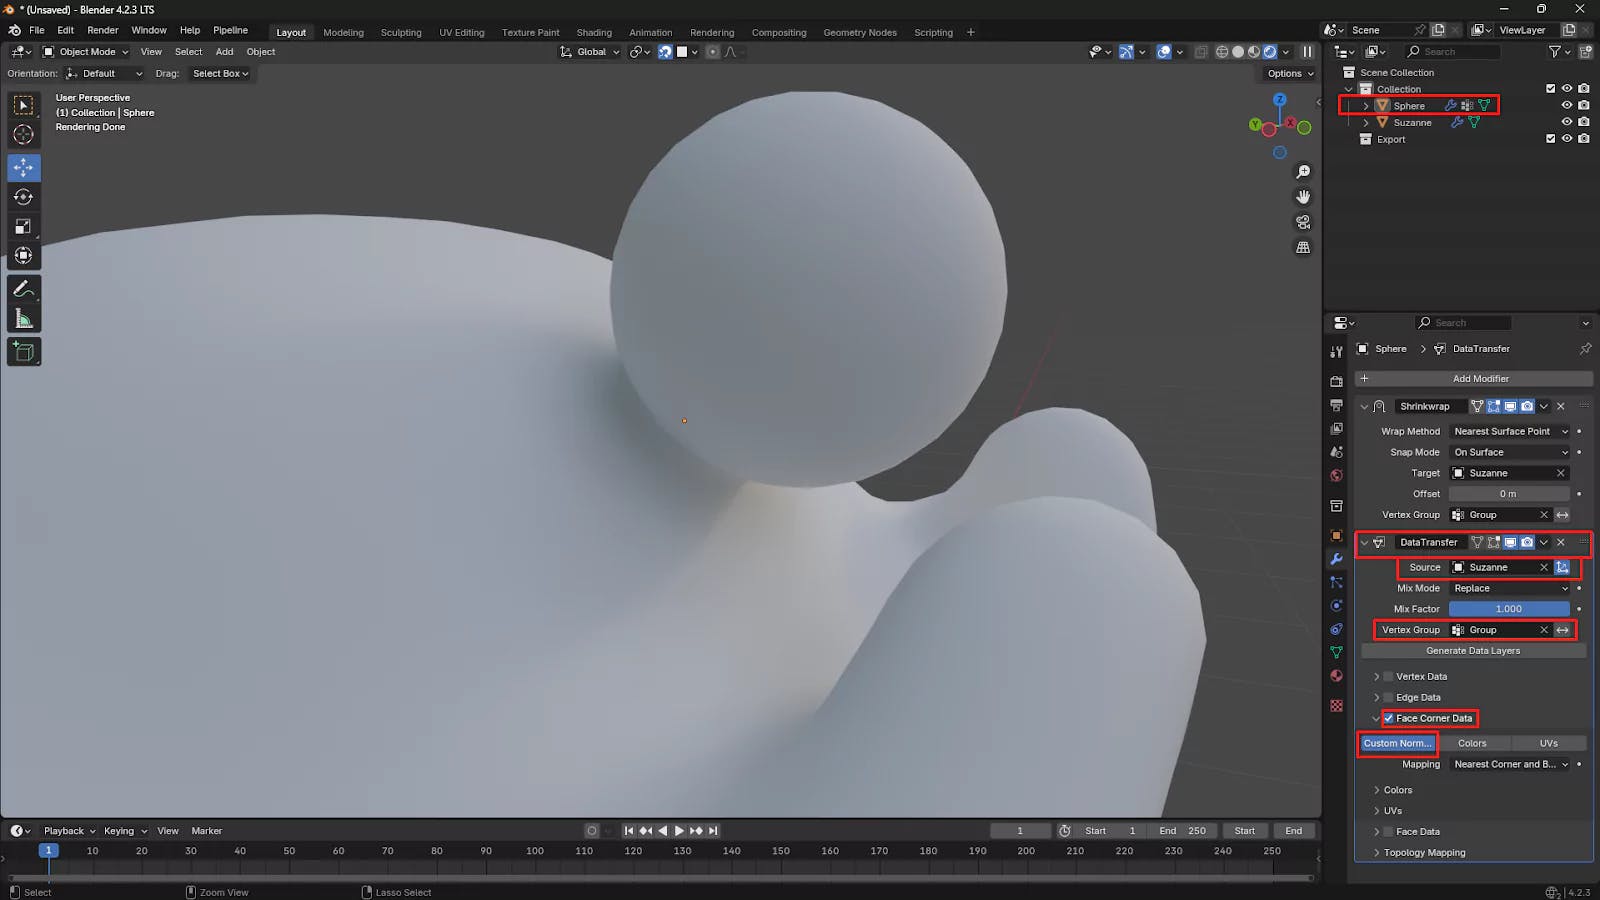
Once in Edit Mode, select the faces or vertices of the object that you wish to connect with the other object. After selecting the necessary section, create a Vertex Group. This will be used later to apply modifiers in a controlled manner.

Next, move the object into position where it should connect with the target object. To ensure the two objects blend smoothly, we will apply the Shrinkwrap modifier.
Shrinkwrap modifier to the source object.Target field.Vertex Group field.
This will shrink the selected vertices toward the surface of the target object, making it appear as though they are merging seamlessly.
To perfect the illusion of seamless merging, we will now apply the DataTransfer modifier:
DataTransfer modifier to the source object.Source slot.Vertex Group slot.Face Corner Data option.Custom Normal to ensure proper shading and smoothing between the objects.