Create Realistic Glass Materials with Scratches in Arnold Renderer
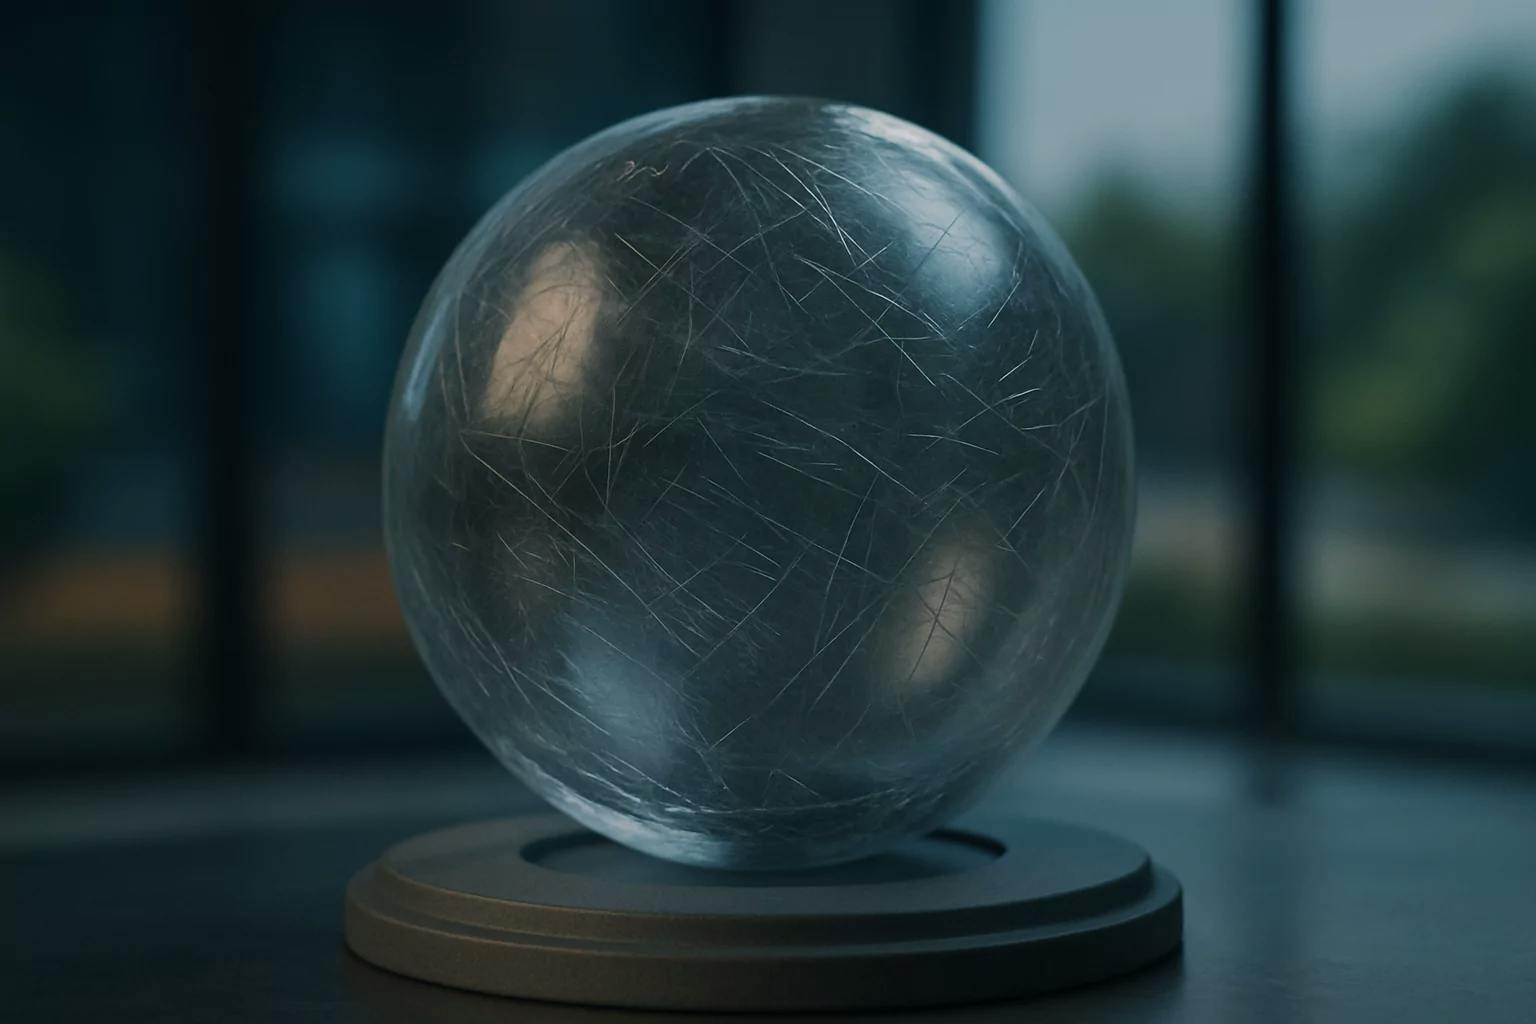
Setting up a glass material with surface imperfections in Arnold Renderer for 3ds Max can significantly improve realism in your renders. Here’s a quick and practical guide to achieving convincing results using HDR lighting and Arnold’s Standard Surface material.
The scene setup is straightforward. We use one HDR image placed inside an Arnold Skydome Light, with its mapping set to Environment and Spherical Environment.

We apply the Arnold Standard Surface material to our glass object. The Clear Coat layer adds an additional reflective surface on top of the transparent base, enhancing realism.

By default, the Depth value has minimal visual impact unless you assign a Transmission Color.

Once a color is applied to Transmission, the depth effect becomes visible and intensifies as the depth value changes.

Lowering the Transmission Depth makes the color absorption more pronounced, which is ideal for colored glass.

To introduce subtle scratches or surface variation, apply a Specular Roughness Map. Note that when a map is used, the spinner value becomes inactive—the roughness is fully controlled by the black and white values in the texture map.

Adjusting the dark values (increasing brightness slightly) will cause the surface to appear blurrier, simulating fine scratches or smudging.

By combining accurate lighting, proper material setup, and realistic surface details, you can achieve high-quality renders with believable glass materials in Arnold Renderer for 3ds Max.

Learn how to create, rig, and animate a MetaHuman character in Unreal Engine with our easy-to-follow guide
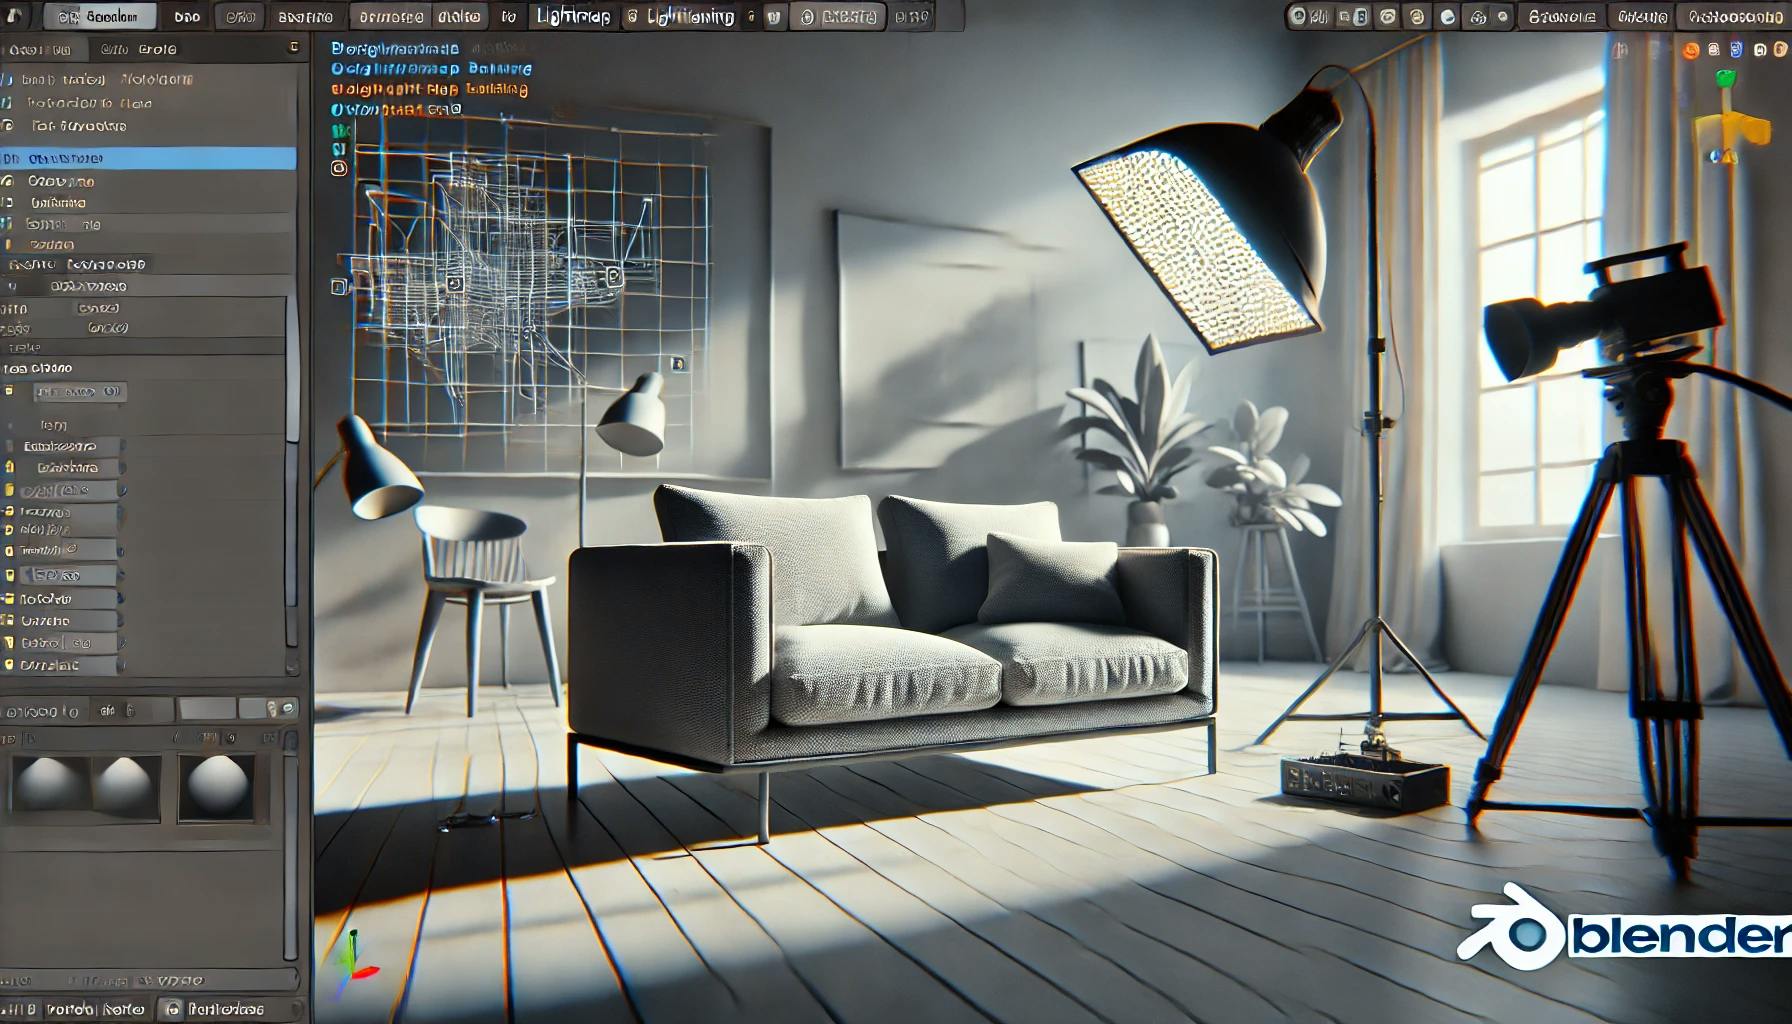
Learn how to bake lightmaps in Blender using the Cycles engine for optimized, high-quality lighting. Perfect for game assets and real-time rendering
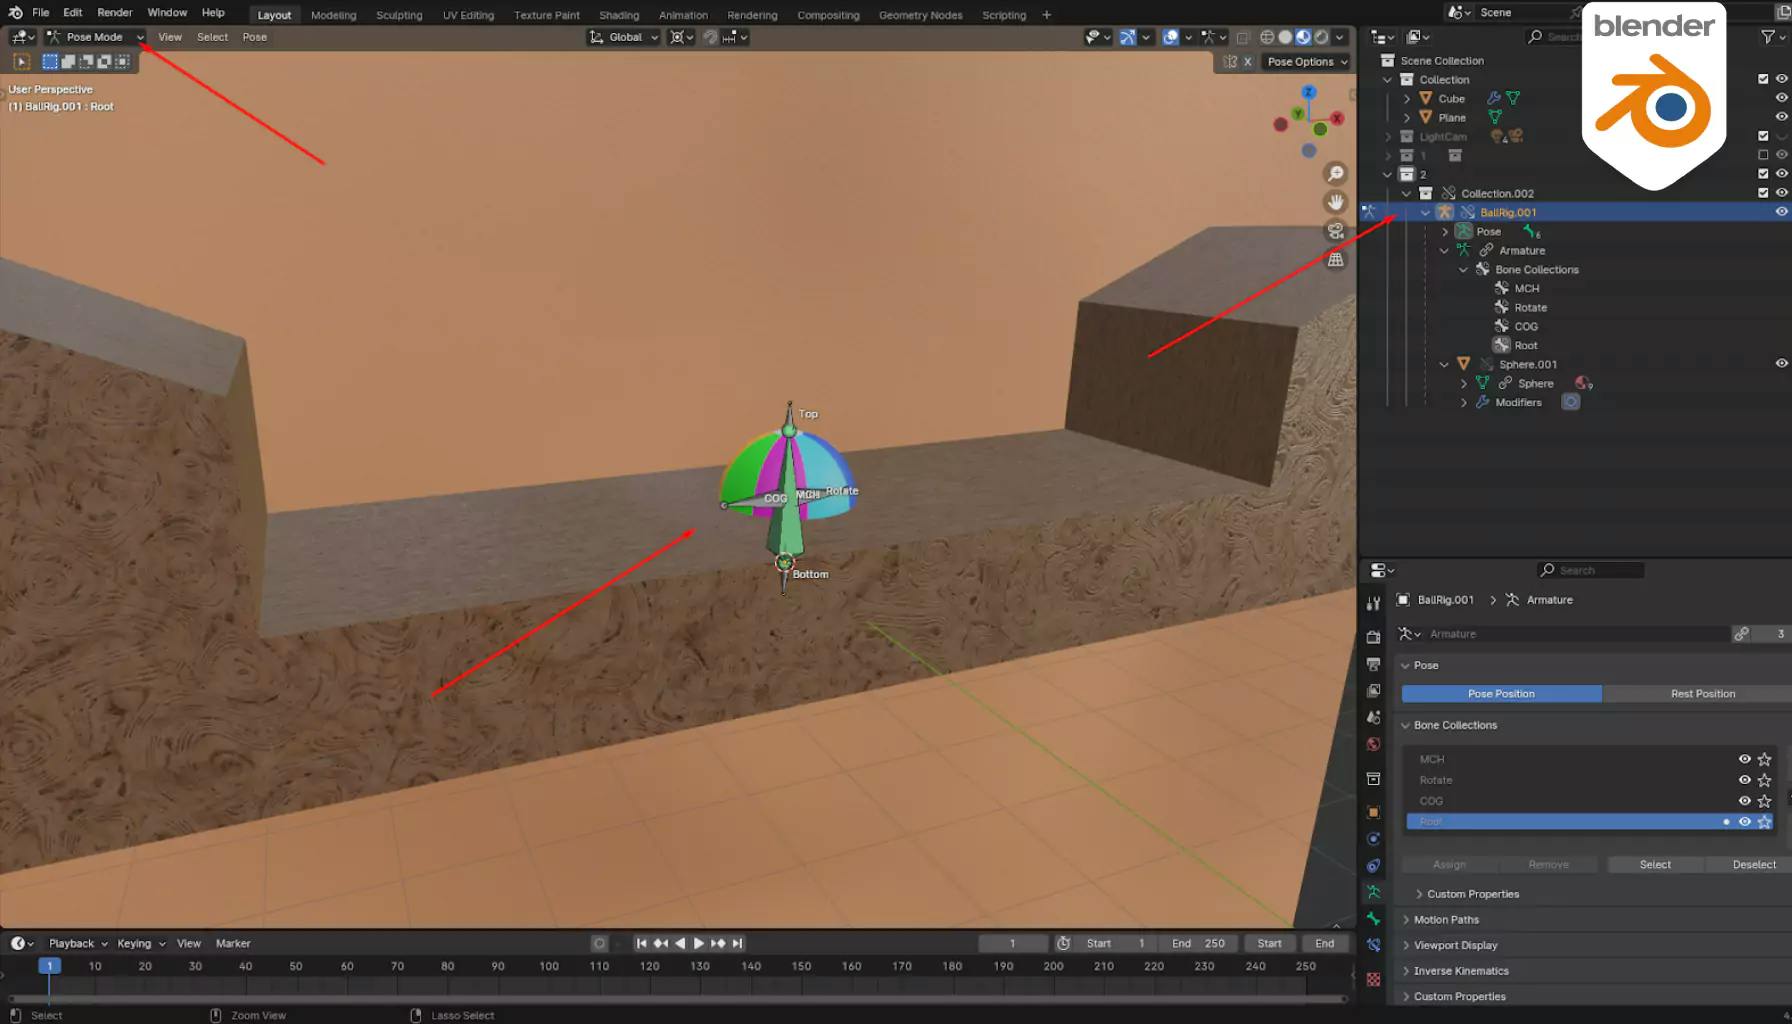
Learn the step-by-step process to link characters from another Blender file and enable pose mode for animations. This tutorial covers how to use library overrides for seamless integration of character armatures.