The Complete Blender & Cascadeur Workflow

In this series, I'll show you how to download a 3D character from Ready Player Me. Then, we'll import that character into Blender and rig it using the Auto-Rig Pro add-on. After that, we'll export the character to the animation software, Cascadeur. We will look at several ways to transfer characters between Blender and Cascadeur. Next, we will animate the character in Cascadeur. Finally, we'll import the animation back into Blender.


A to select all, X to delete).File > Import > GLTF 2.0 (.glb/.gltf)..glb file and import it.You should now see your character in the viewport!
Auto-Rig Pro is a paid add-on for Blender that simplifies the creation of professional-grade character rigs.
ARP > Smart and click "Get Selected Objects."With the rig generated, the final step in Blender (for now) is to bind the character mesh to the new armature. This makes the "skin" move with the "bones."
Bind tab.c_traj bone in the rig.Your character is now fully rigged and ready for the next stage!
To move our rigged character to Cascadeur, we need to export it in the .fbx format, which is a standard for 3D animation.
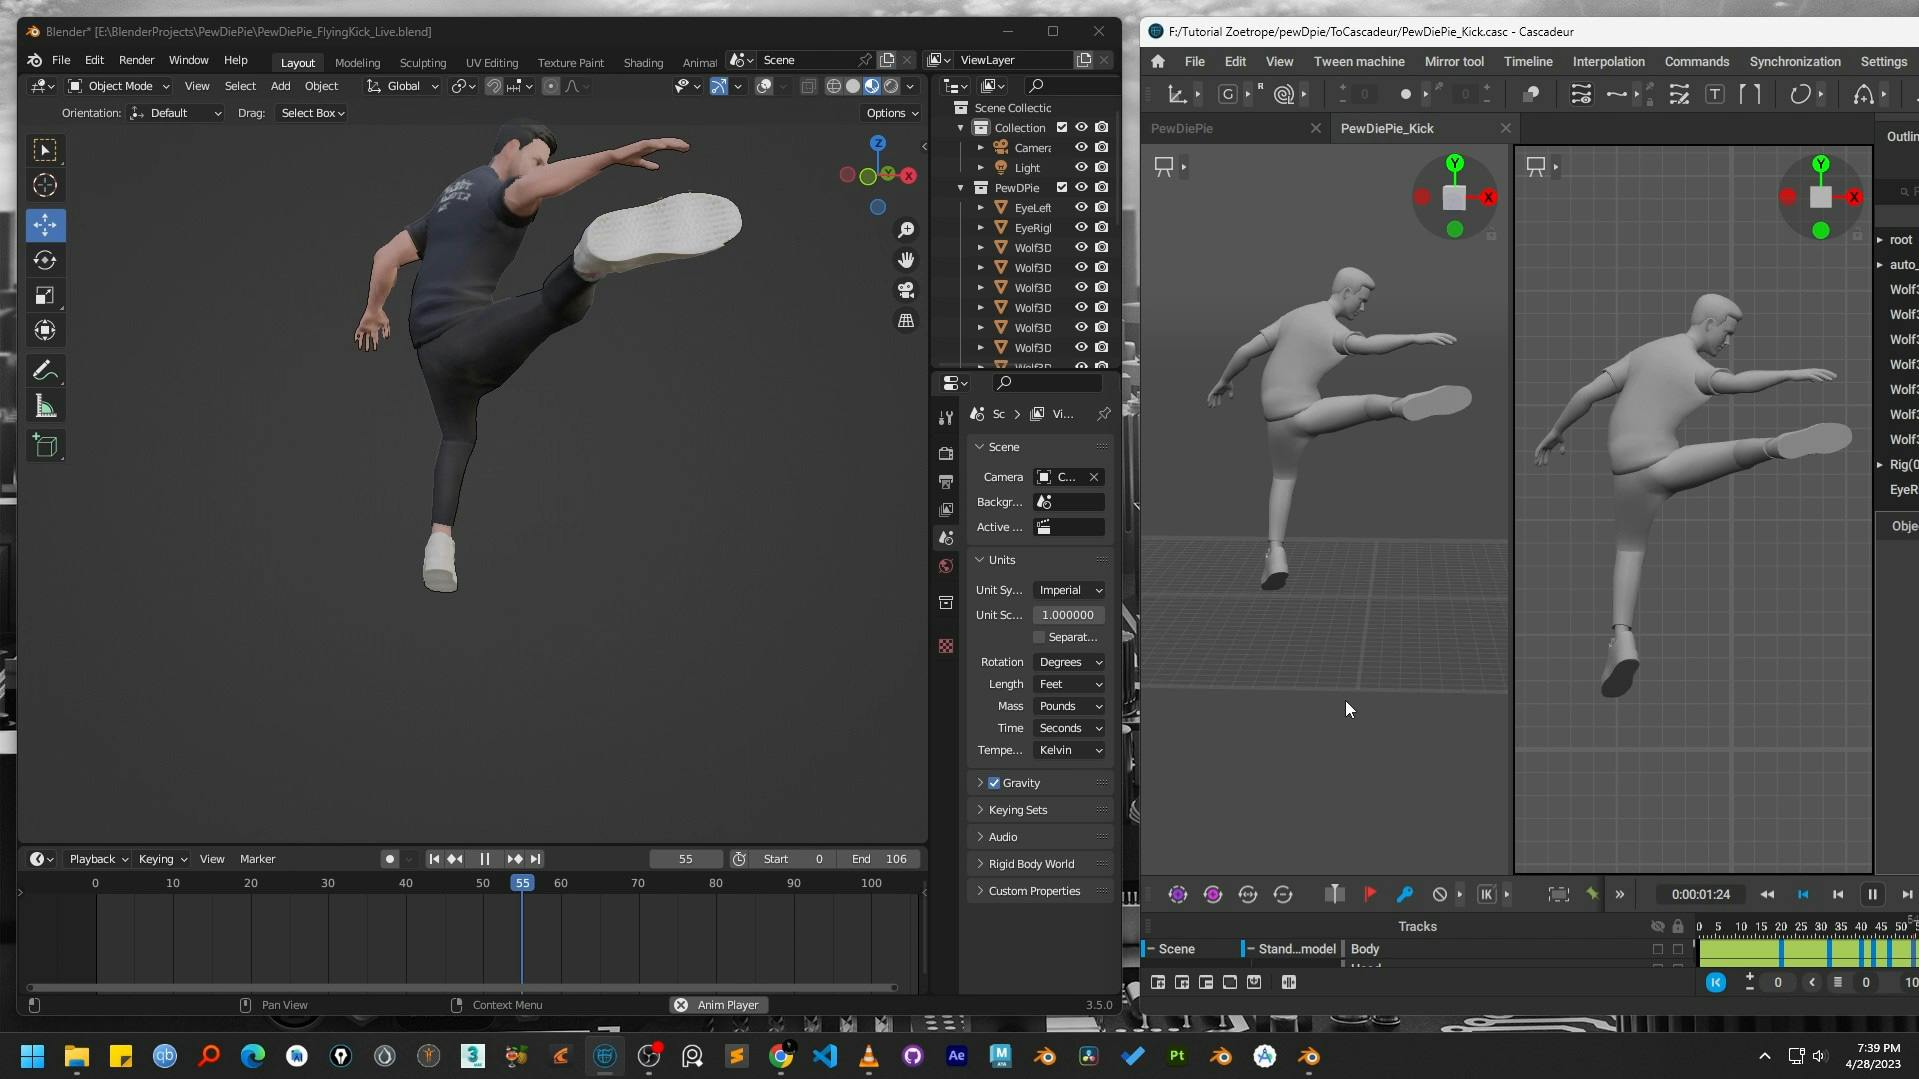
File > Export > FBX (.fbx).Armature, uncheck "Add Leaf Bones."File > Import > FBX/DAE..fbx file you just exported from Blender.Once you're satisfied with your animation in Cascadeur, it's time to export it back to Blender for rendering or for use in a larger scene or game engine.
File > Export > FBX/DAE.File > Import > FBX (.fbx).You can now see your Cascadeur-made animation playing on your character right inside Blender!
Congratulations! You have successfully completed a full 3D character animation workflow. You've gone from creating a custom avatar in Ready Player Me, to building a professional rig in Blender with Auto-Rig Pro, creating a lifelike animation in Cascadeur, and bringing it back to Blender.
This pipeline is flexible and powerful, giving you the best of each tool. From here, you can render your animation, add it to a game engine like Unreal or Unity, or continue to refine it.
Happy animating! ✨
Learn the step-by-step process to retarget character animations from Cascadeur to Blender using the powerful Auto-Rig Pro addon. A complete workflow guide.
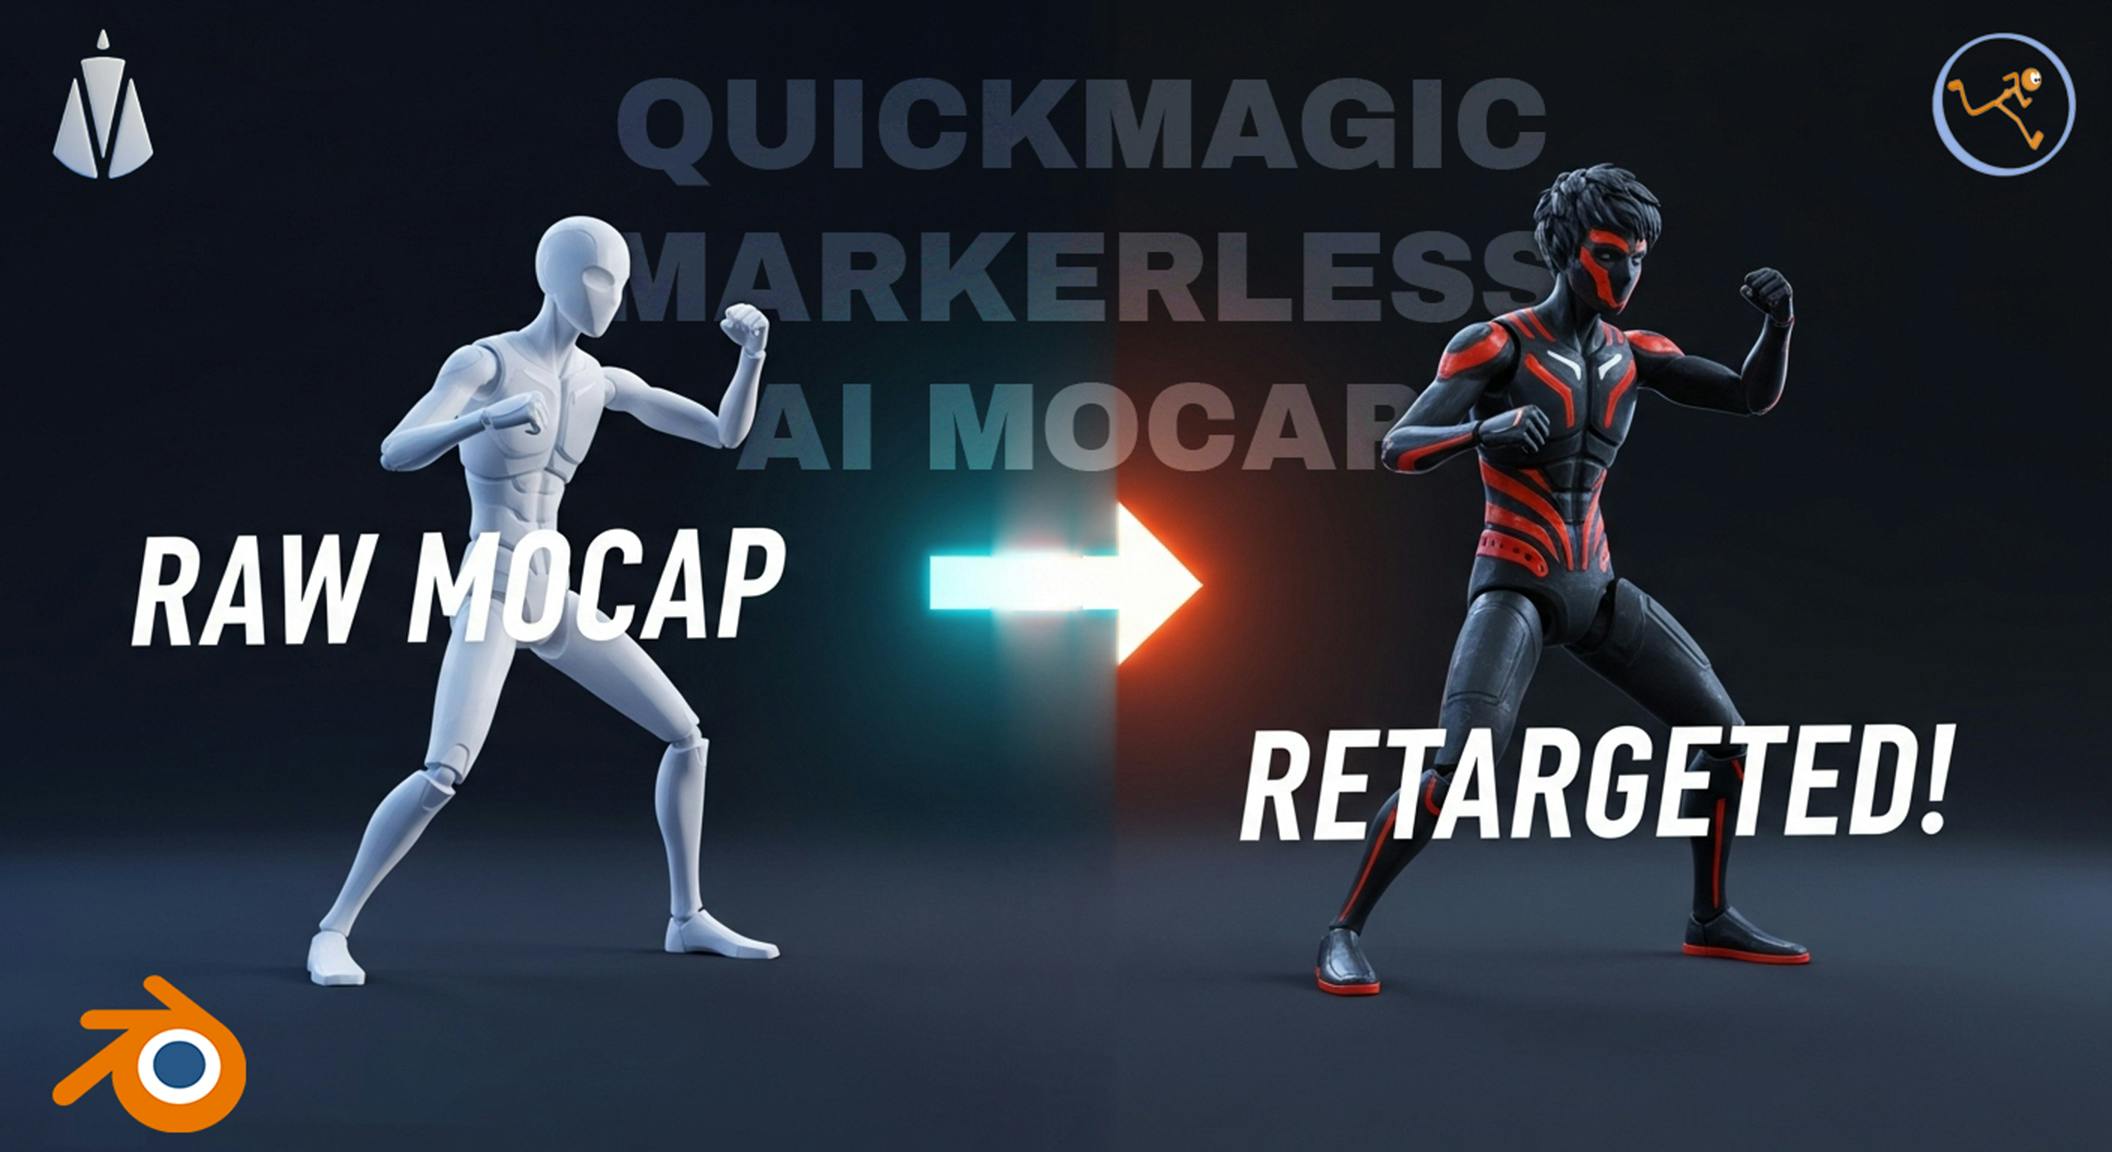
Learn how to easily retarget QuickMagic motion capture data onto any character in Blender with this step-by-step guide using the Auto-Rig Pro addon
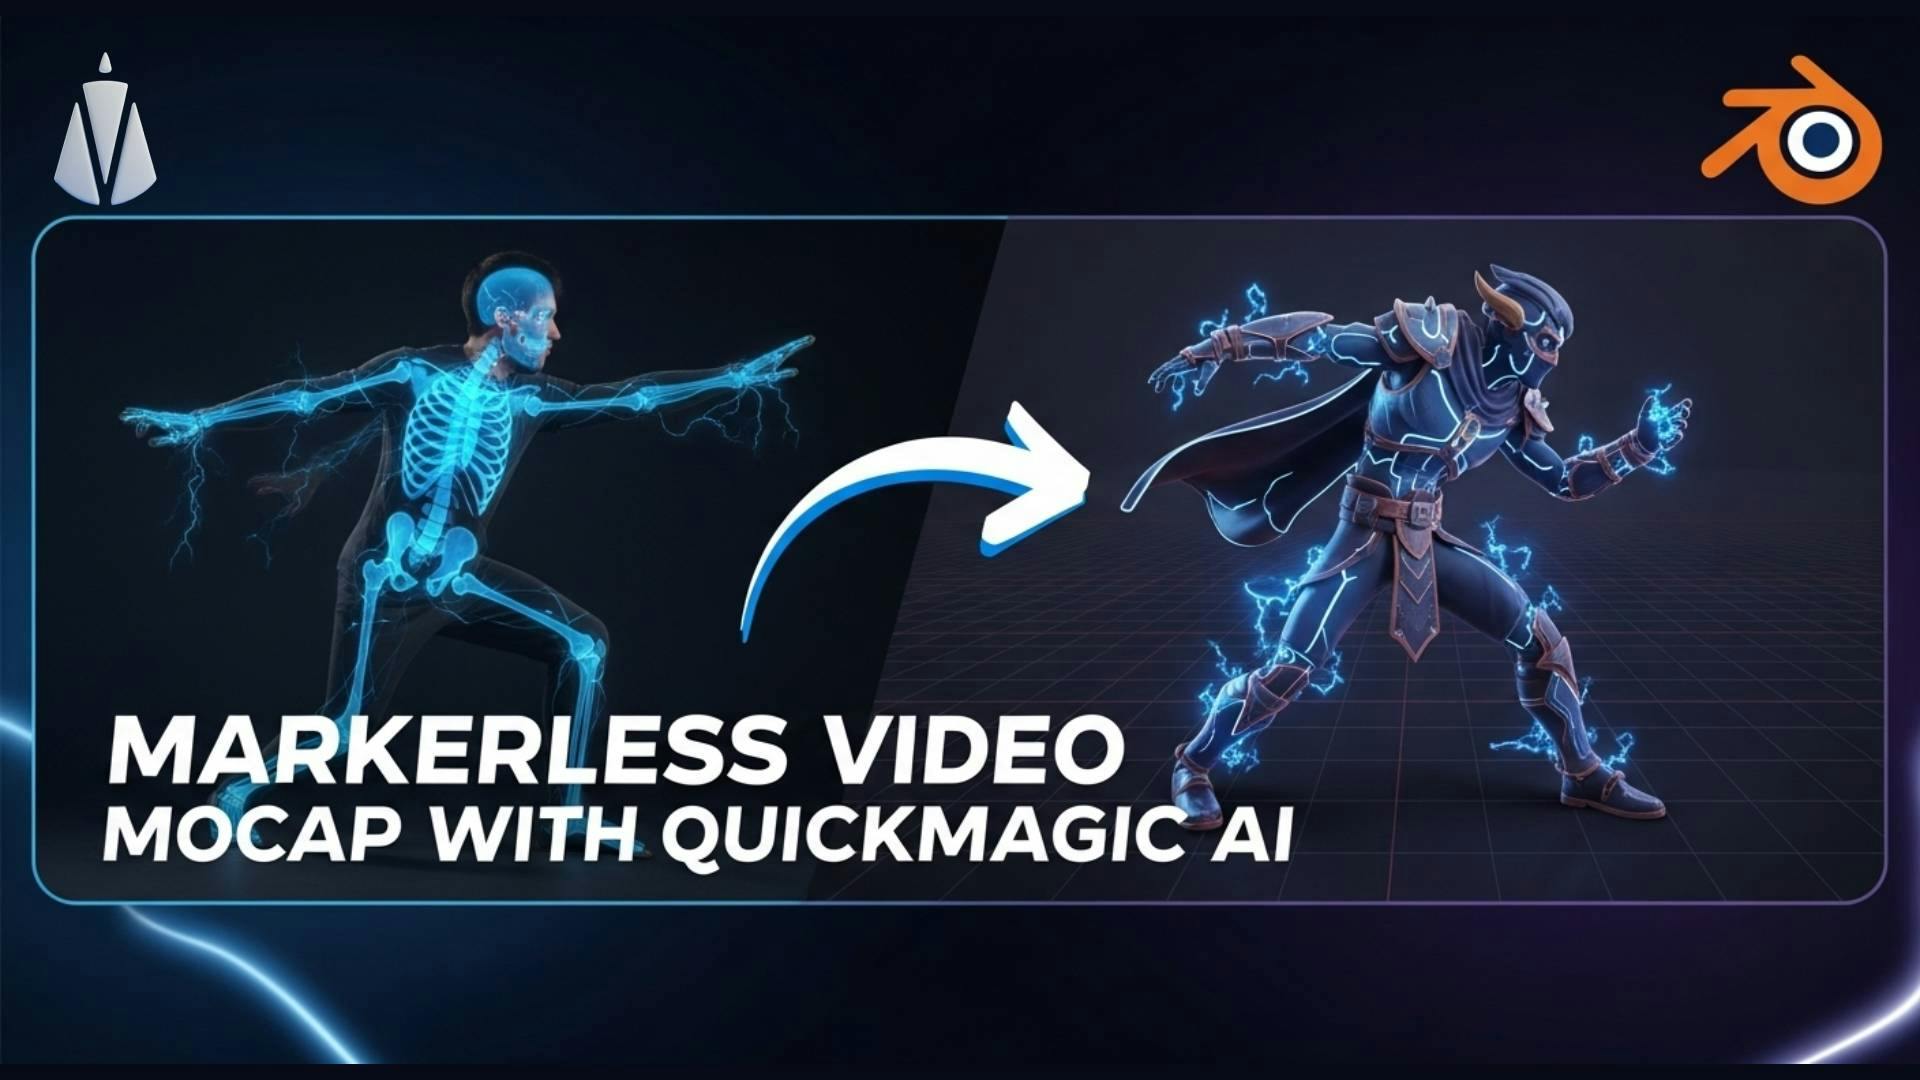
Tired of expensive mocap suits? Discover the power of QuickMagic AI for markerless motion capture and level up your Blender animations.