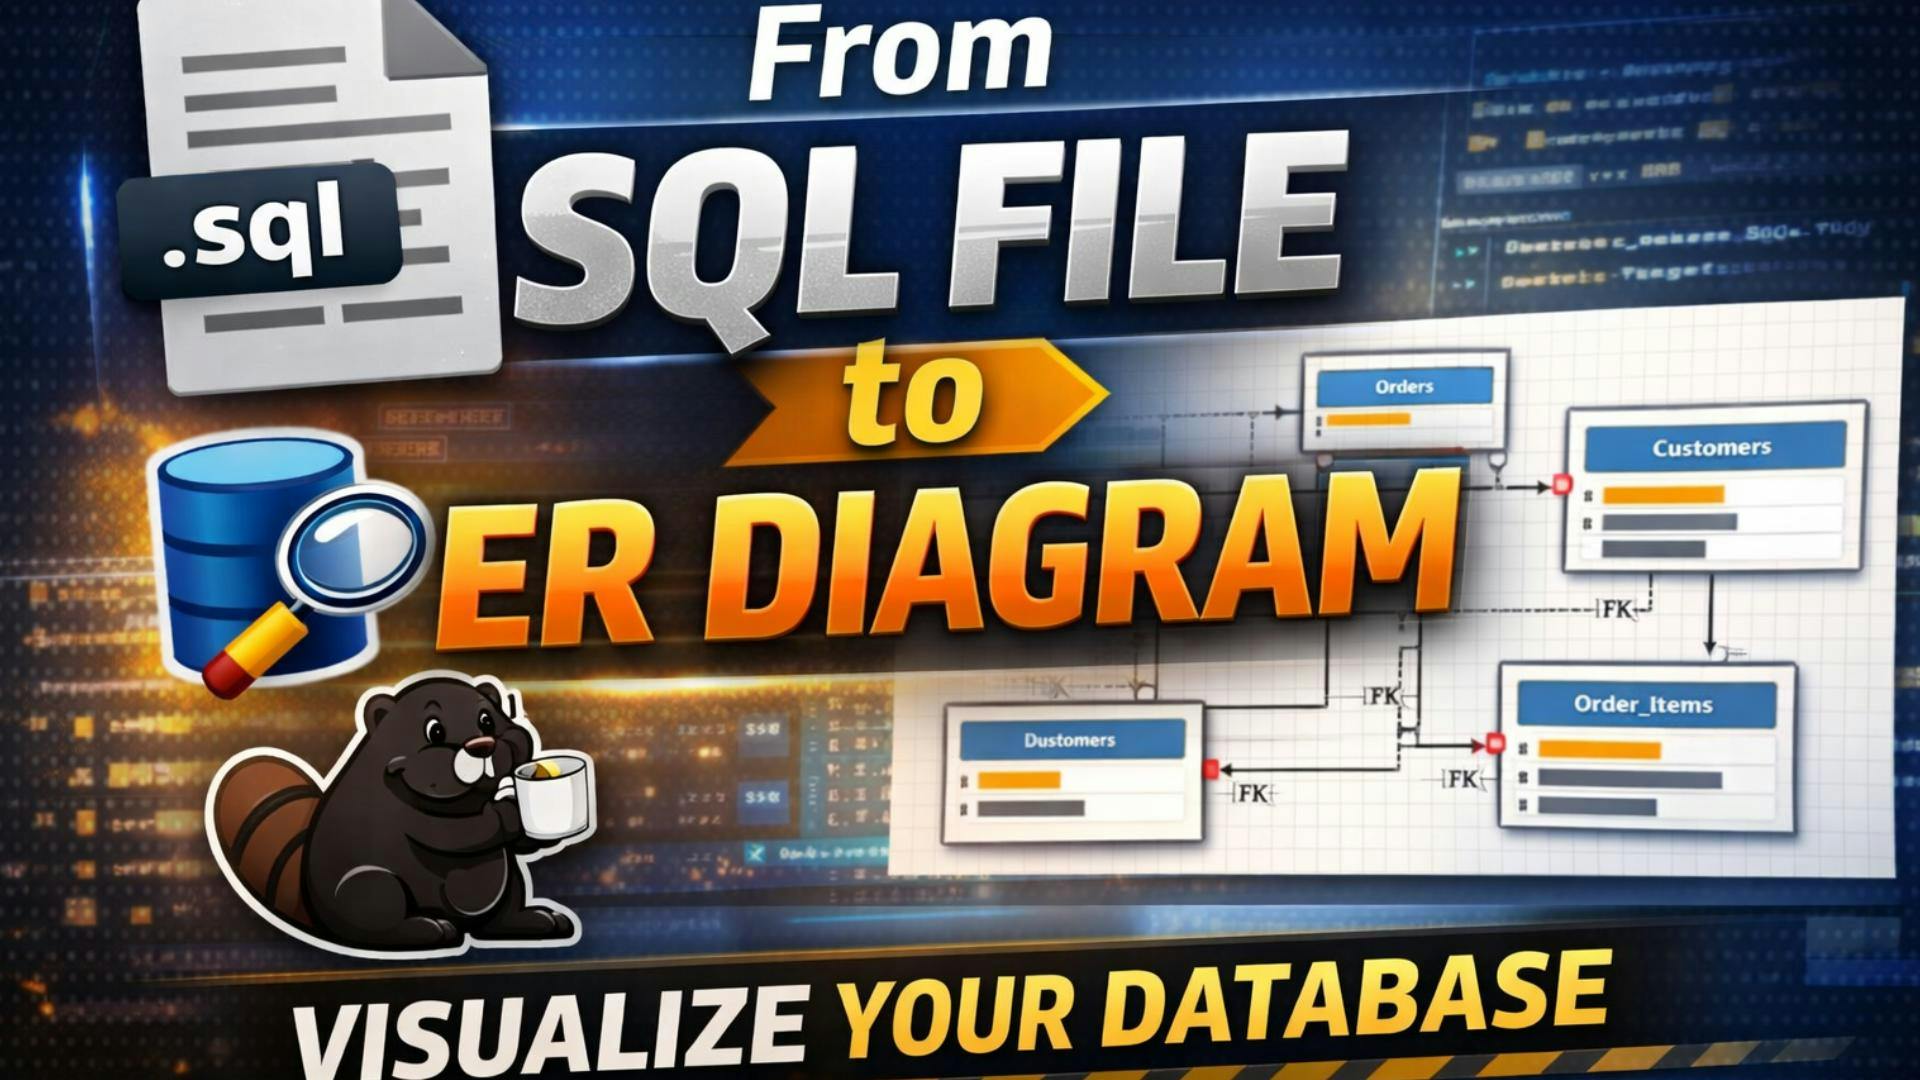
How to Generate an ER Diagram from a Microsoft SQL Server Schema File with Dbeaver
So, you’ve just received a .sql file. 📂
Maybe it’s from a legacy project, a colleague who left the company, or an open-source repo. You open it up, and it’s thousands of lines of CREATE TABLE, ALTER TABLE, and CONSTRAINT statements. It’s a wall of text.
You need to understand how this system works. You need to see the relationships, the foreign keys, the data flow. You need a map. 🗺️
In this guide, I’m going to act as your senior lead and walk you through exactly how to turn that raw code into a beautiful, functional Entity Relationship Diagram (ERD). We’ll use the industry-standard Microsoft SQL Server and compare two powerful tools for visualization: the native SSMS and the versatile DBeaver.
Let’s dive in! 🚀
Before we start hacking away, ensure you have the following:
schema.sql file (exported from MSSQL).MSSQL).First, we need the engine to run the code. Microsoft SQL Server Developer Edition is full-featured and completely free for development purposes.
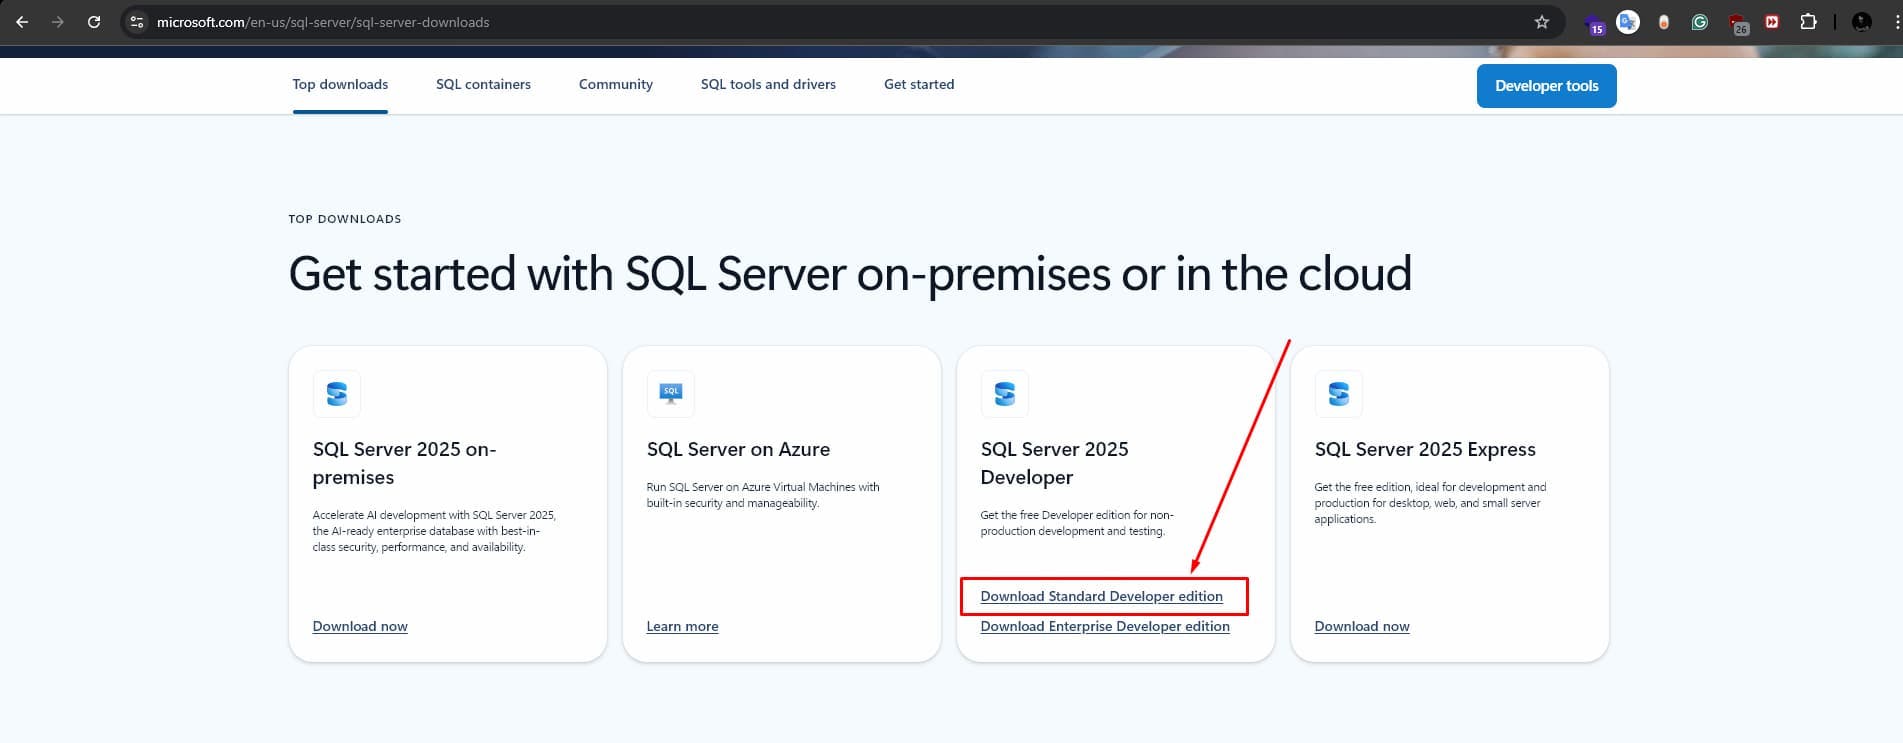
👉 Download here: SQL Server Downloads
When you run the installer, you’ll face a choice:
💡 Pro Tip: Choose Basic. It installs the Database Engine with sensible defaults, which is exactly what we need to just load a schema and inspect it.
Once it finishes, it might ask for a restart. Do it. Don't fight the Windows Update gods. 🧘♂️
The engine is the muscle; now you need the brain. SQL Server Management Studio (SSMS) is the primary interface for managing your SQL infrastructure.
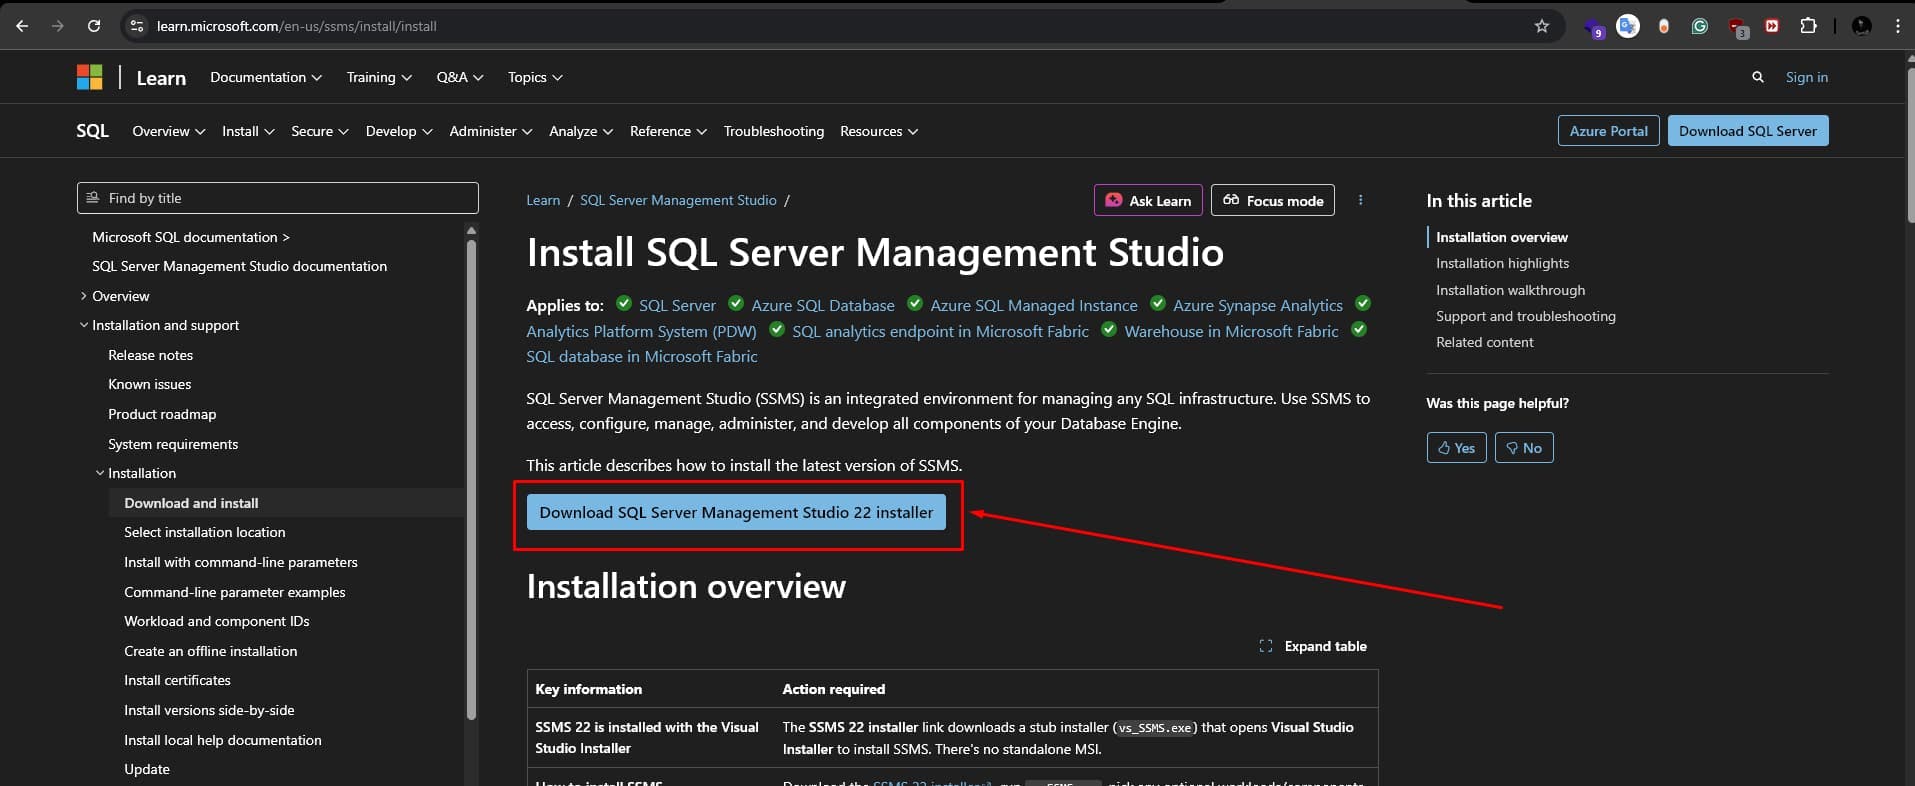
👉 Download here: Download SSMS
Install it. It’s a hefty install, so maybe grab that coffee now. ☕
Open SSMS. You’ll be greeted by the "Connect to Server" dialog.
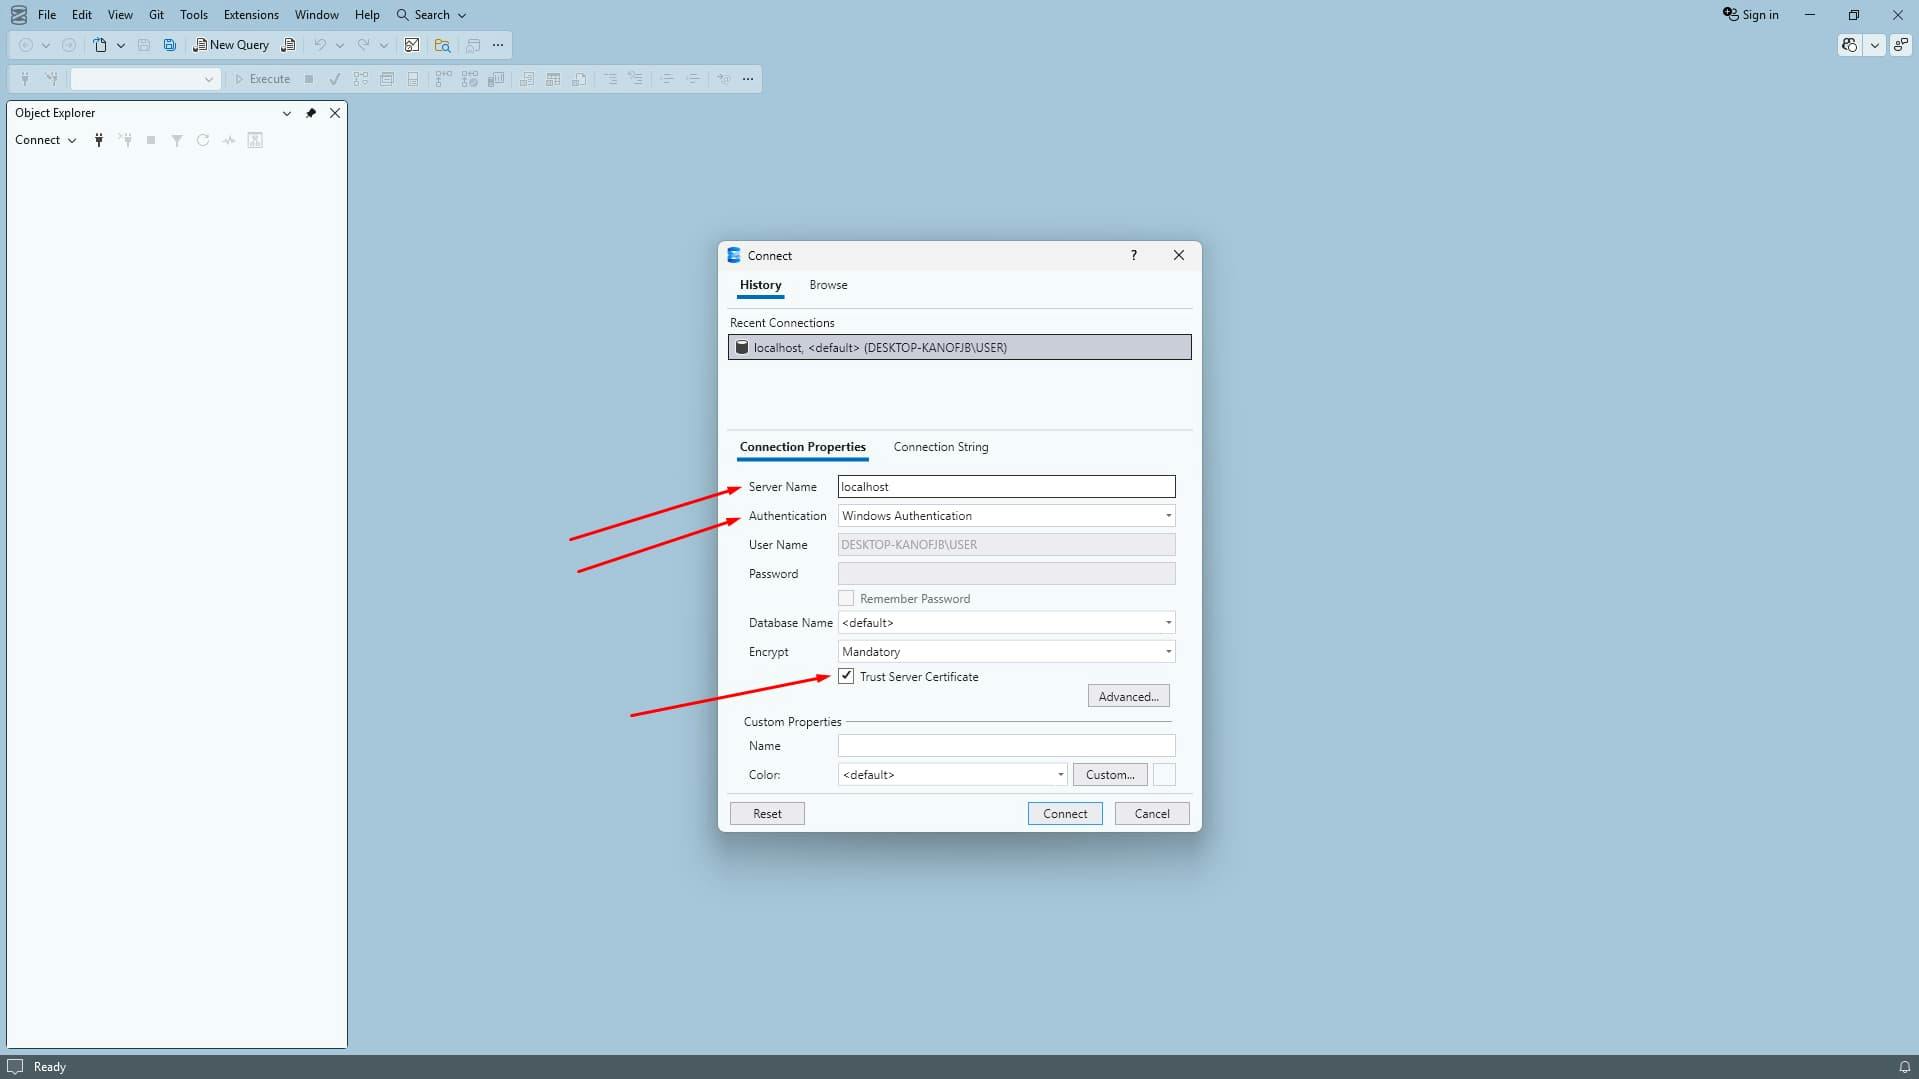
localhost (or . represents local)If you see an error screaming about Encryption or Certificate Chain Not Trusted, take a breath. This is a common security feature in newer SQL Server versions.
The Fix:
We don't want to mess with system tables. Let's make a fresh home for your schema.

AnalysisDB (or whatever project name suits you).

This is the moment of truth. We’re going to hydrate our empty database with the schema.
Ctrl+O)

schema.sql..

USE StatementMost exported scripts are hardcoded. Look at the very top of the file. Do you see this?
USE [SomeOldProductionDB]
GO
If you run this, SSMS will yell at you: "Database 'SomeOldProductionDB' does not exist."
The Fix: Change it to your new DB name:
USE [AnalysisDB]
GO
...or simply delete those lines and ensure the dropdown menu in the SSMS toolbar says AnalysisDB.
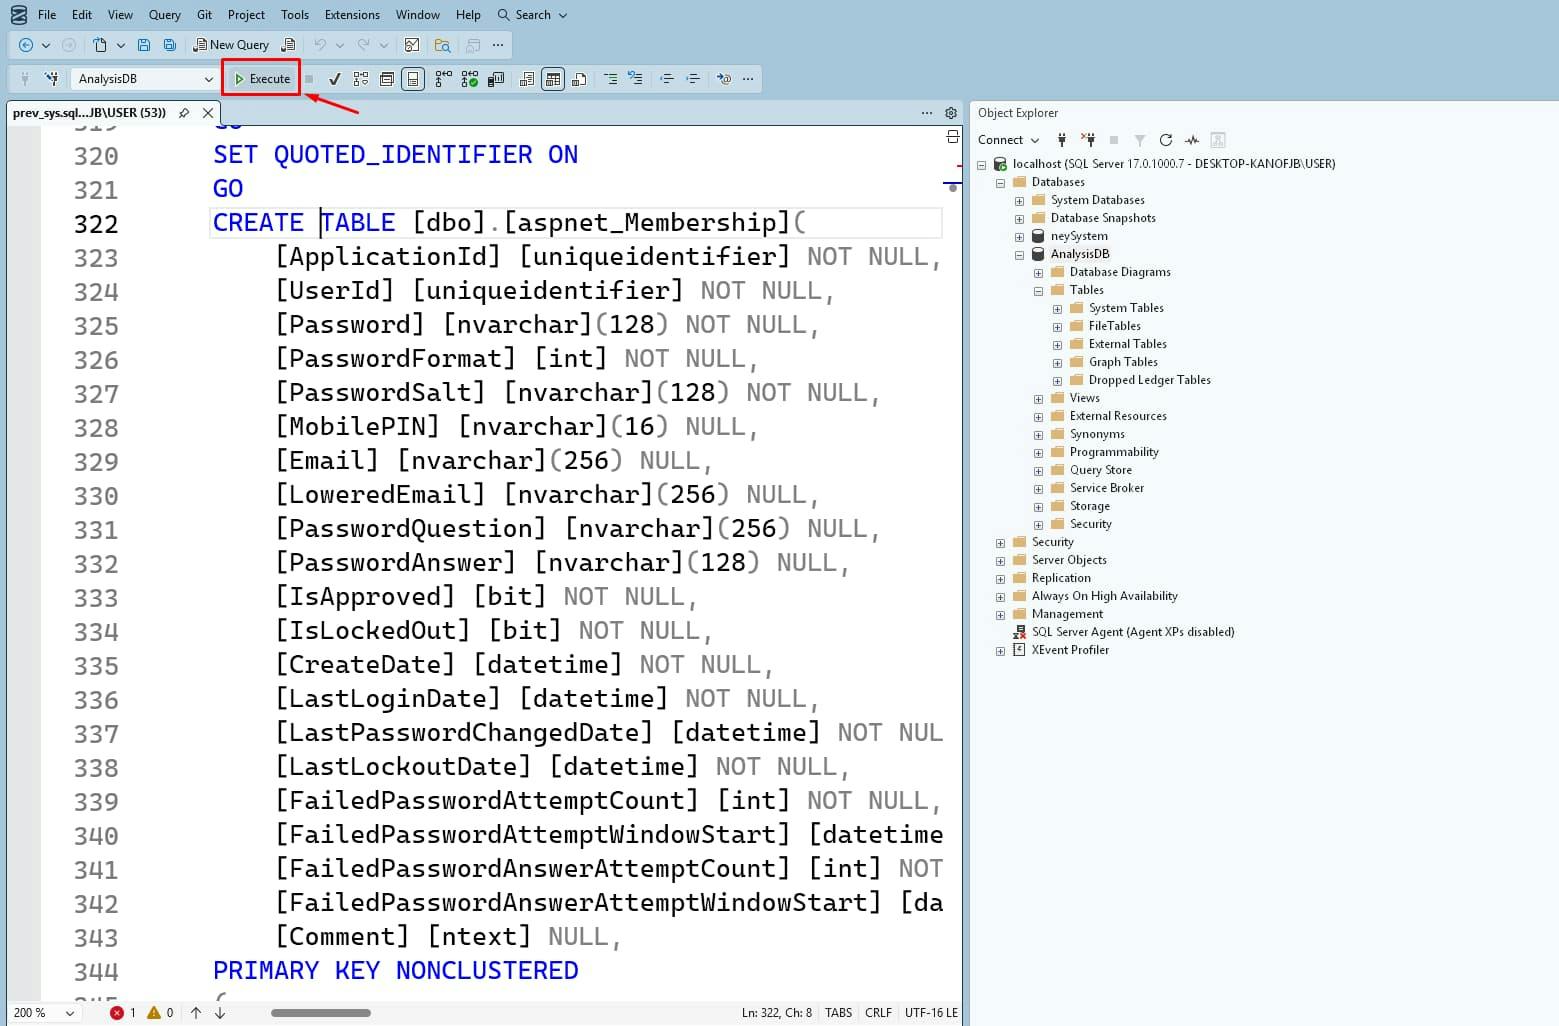
Action: Press F5 (or click Execute).
If you see Commands completed successfully, you’re in. 🎉
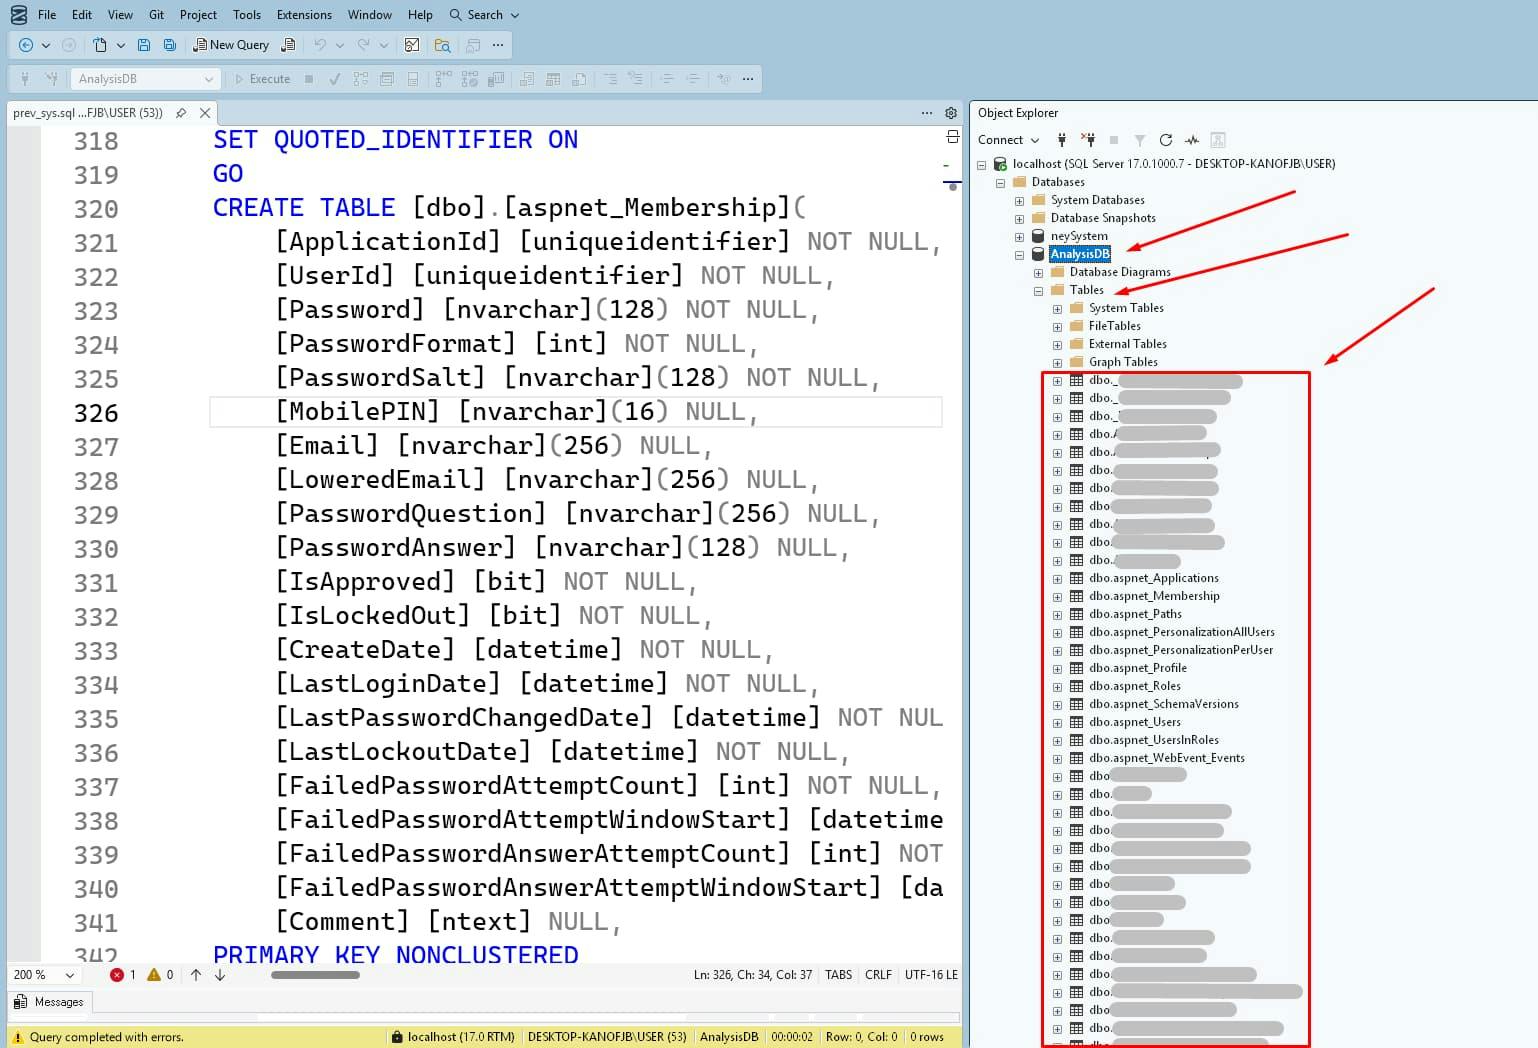
Refresh the Tables folder in Object Explorer to confirm they are there.
SSMS has a built-in diagram tool. It’s old-school, but it works natively.
AnalysisDB.


If you have 100+ tables, do NOT add them all at once. SSMS will hang, and you will be sad.
The Expert Strategy:
Auth_Module, Inventory_Module).Orders).I personally prefer DBeaver. It’s cross-platform, looks better, and handles large schemas like a champ. Plus, the auto-layout is superior.
👉 Download here: DBeaver Community
 s
s
localhost1433By default, SQL Server Developer Edition often has TCP/IP disabled. SSMS connects via "Shared Memory" (because it's Microsoft), but DBeaver uses JDBC (Java), which needs TCP.
The Fix (Enable TCP/IP):
Win + R, type SQLServerManager15.msc (or 16.msc/17.msc depending on version) to open SQL Server Configuration Manager.


1433.

Now, DBeaver connects. Boom. 💥
AnalysisDB → Schemas → dbo → Tables.
This gives you a crisp, zoomable vector diagram that you can export as SVG or PNG for your documentation.

Reverse engineering a database is a superpower. Whether you stick with the native SSMS diagrams or upgrade to DBeaver, you now have the skills to turn raw SQL code into actionable intelligence.
Got questions? You can contact me and share your queries! Happy diagramming! 👩💻👨💻