Using WSL inside Windows - A Step-by-Step Guide to Managing MySQL Databases on Ubuntu 20.04

I'm using a Windows PC and connecting to Ubuntu 20.04 LTS through WSL. I have also downloaded the *.sql file.
To view WSL (Ubuntu) files in Windows Explorer, enter the following path in the address bar
\\wsl$
To copy a file from Windows to a WSL directory, in this example, paste the SQL file into the following directory \\wsl.localhost\Ubuntu-20.04\home\<userName>\<folderName>
After copying, you may notice an additional file named
<sqlfileName>.sqlZone.Identifier. This file is generated by the Windows operating system, not by Ubuntu within WSL, and is associated with Windows security features.
Open the Ubuntu terminal
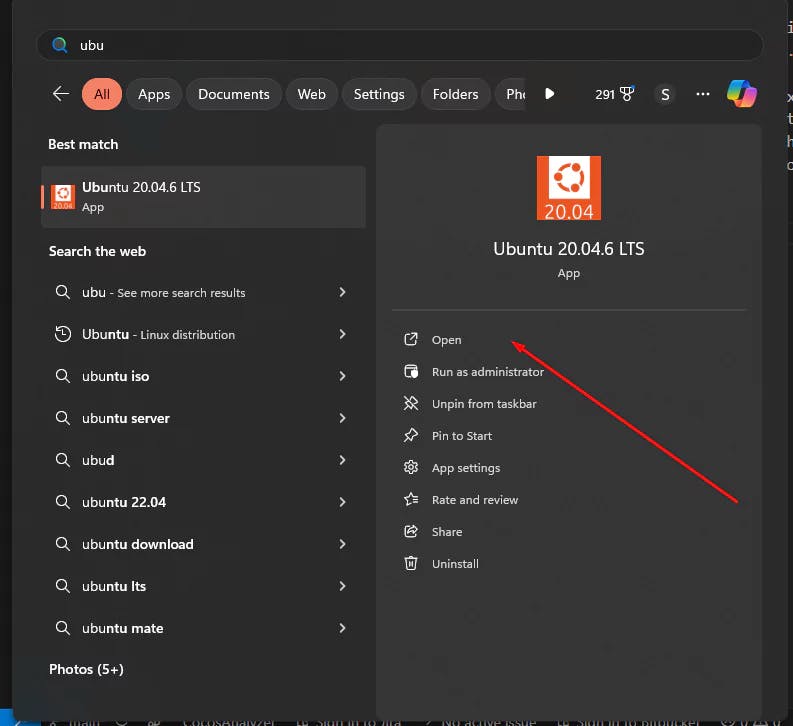
then access MySQL by typing
mysql -u <username> -p
Alternatively, you can use
sudo mysql
Inside the MySQL prompt, create a database where you will import the dumped file that was previously copied
CREATE DATABASE <tutorial_database>;
Once the database is created, grant access to it for a specific user
GRANT ALL ON <dbName>.* TO '<userName>'@'localhost';
Exit the MySQL terminal by typing
exit;
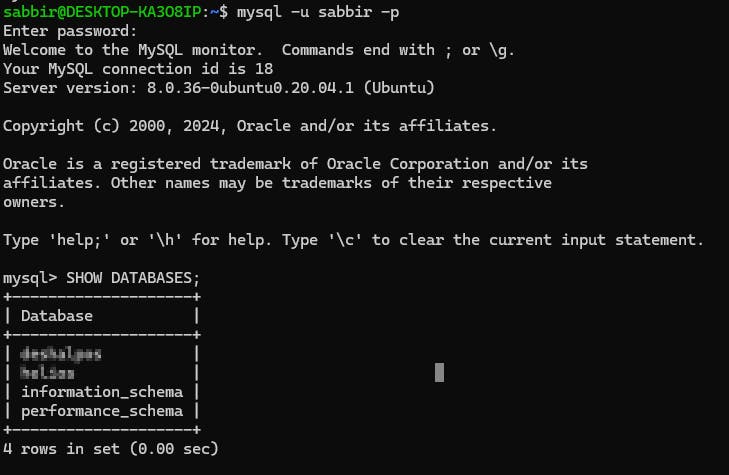
Verify that everything was executed correctly by logging back into MySQL and listing the databases
mysql -u <userName> -p
SHOW DATABASES;
Exit from MySQL once more
Change the directory to where the *.sql file was copied
cd <databaseFolder>/
Import the SQL file into the database named "helios" by running
mysql -u <userName> -p <dbFolder> < <dbName>.sql
This command will prompt for a password and might take some time to execute without displaying a progress bar. Do not worry; this is normal behavior as the SQL file is being imported into the database.
If you prefer to see a progress bar while importing the database, use the following command
pv <db>.sql | mysql -u <userName> -p <database_name>
Note: The pv command may need to be installed separately if it's not already available on your system.

Just created a new Git branch and see 500+ modified files? Uncover the GitHub Desktop on Windows trap and resolve annoying line ending & permission errors step-by-step.
Learn how to effortlessly install, manage, and switch between multiple PostgreSQL versions on Linux, macOS, and Windows. No virtual machines required

Preventing AI disasters in WSL! Learn how to configure Google Antigravity for Frappe & ERPNext projects to avoid 'sudo' errors and master your dev environment.