Shopify Theme Development Part 1 – Setup, Code & Version Control


assets (for CSS, JavaScript, and images) config (for global theme settings) layout (for the main theme layout file) locales (for translations) sections (for modular, reusable page sections) snippets (for smaller, reusable code snippets) templates (for page and section JSON templates) The most crucial file in any theme is theme.liquid, which lives inside the layout folder. This file acts as the master template for your entire store; every other template is rendered inside of it.
Create layout/theme.liquid and paste this essential boilerplate code:
<!DOCTYPE html>
<html>
  <head>
    <title>{{ page_title }}</title>
    <meta charset="utf-8" />
    <meta http-equiv="X-UA-Compatible" content="IE=edge" />
    <meta name="viewport" content="width=device-width,initial-scale=1" />

    {{ content_for_header }}
  </head>

  <body id="main" role="main">
    {{ content_for_layout }}
  </body>
</html>
Key elements to note:
{{ content_for_header }}: This Liquid object is mandatory. It must be inside the <head> tag. Shopify uses it to inject critical assets, like scripts for analytics and apps. {{ content_for_layout }}: This is where Shopify will render the content of your other templates (e.g., index.json, product.json). It must be inside the <body> tag. index.json inside the templates folder and paste the minimum required code below.Note: This file will be generated automatically by Shopify later.{
"sections": {
"banner": {
"type": "banner",
"settings": {
"banner_text": "Hello"
}
}
},
"order": ["banner"]
}banner.liquid in the sections folder as referenced earlier.<section>
{% comment %} Banner Section {% endcomment %}
<h1>Hello World! Hola</h1>
</section>
{% schema %}
{
"name": "Banner",
"settings": [
{
"type": "text",
"id": "banner_text",
"label": "Banner Text"
}
],
"presets": [
{
"name": "Banner"
}
]
}
{% endschema %}settings_schema.json file inside the config directory.[
{
"name": "Theme settings",
"settings": [
{
"type": "color",
"id": "background_color",
"label": "Background color",
"default": "#ffffff"
}
]
},
{
"name": "Default",
"settings": [
{
"type": "color",
"id": "default_color",
"label": "Default color",
"default": "#ffffff"
}
]
}
]main.  Click Add Theme, then select Connect from GitHub.
 Choose your repository. Make sure the branch selected is
 main.


 Inspect the commit and you’ll see that the
 index.json in templates has been updated with your new banner text.

banner.liquid file to render the dynamic text:{{ section.settings.banner_text }}


 Don’t forget to inspect GitHub again to understand how Shopify auto-commits content changes.

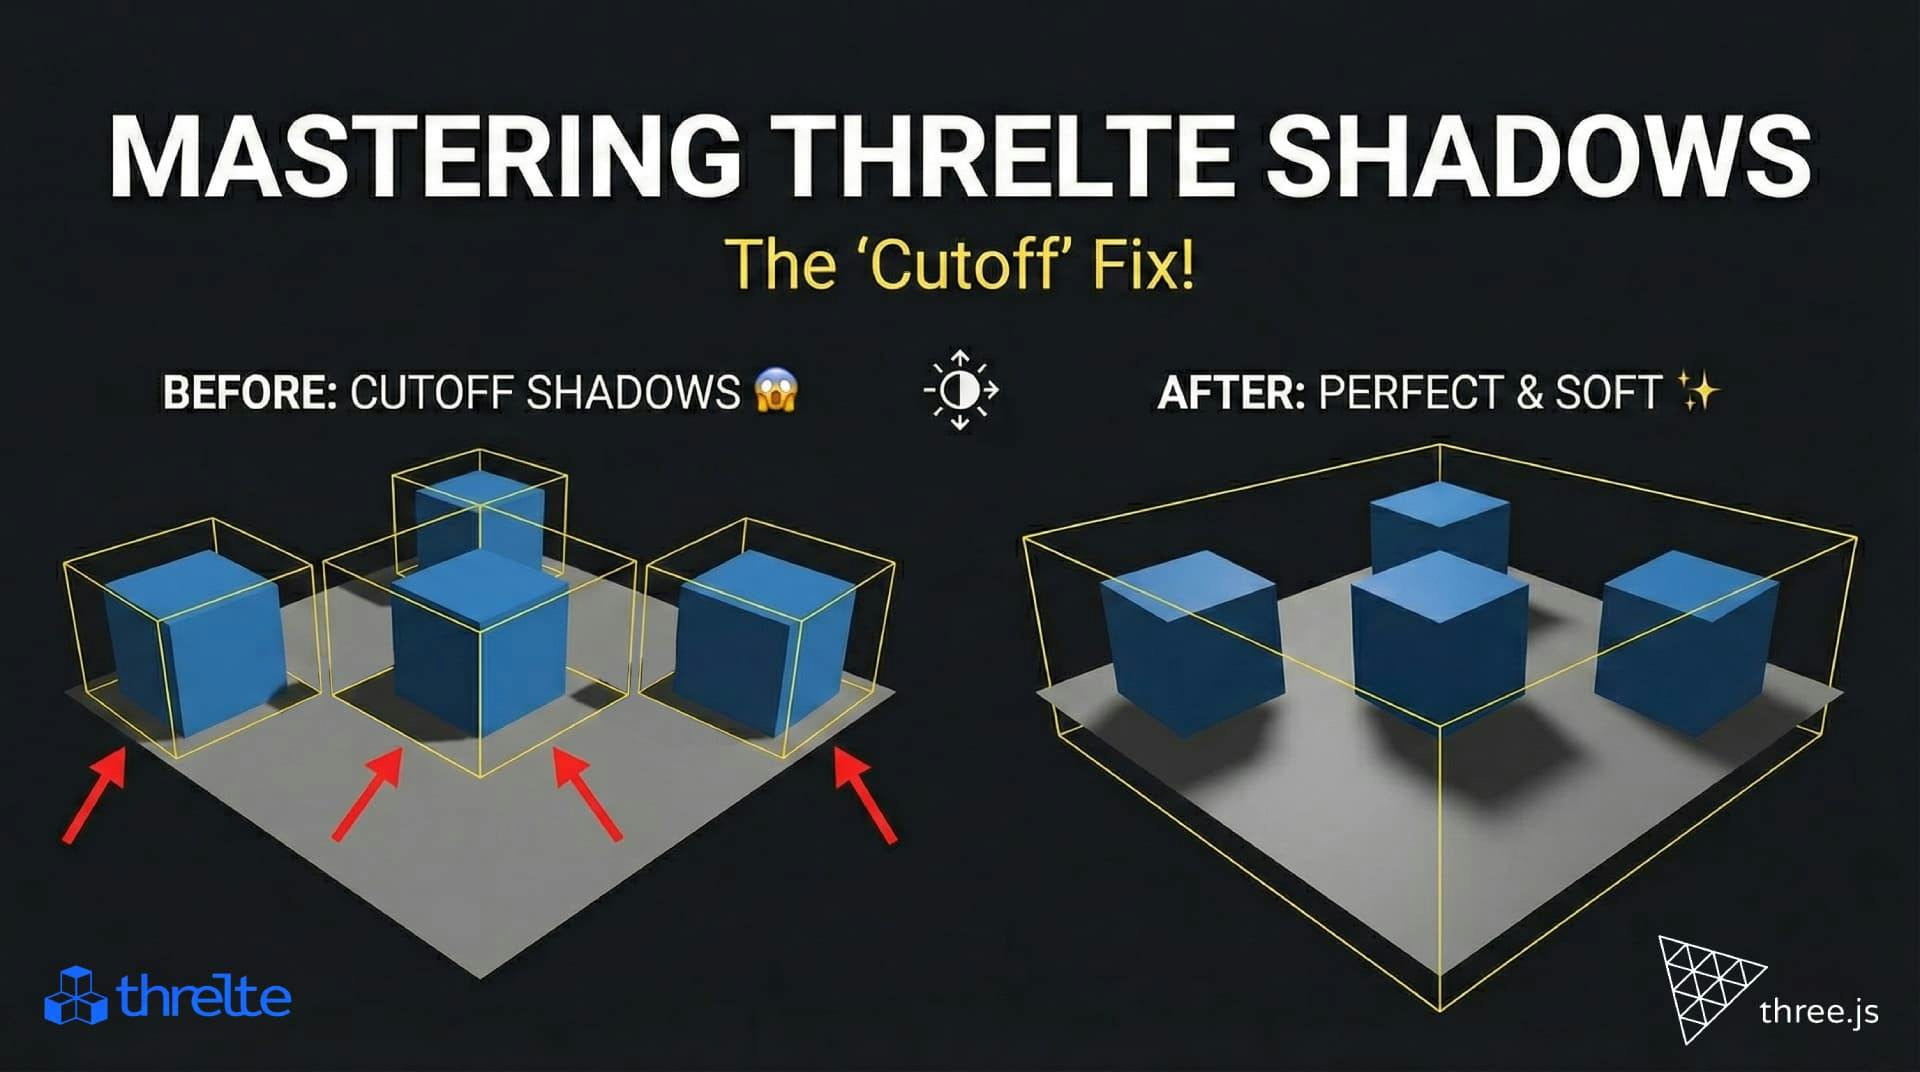
Shadows disappearing in your Threlte or Three.js scene? It’s a frustum issue. Learn how to visualize the shadow box and fix clipping instantly with this guide.

What happens when you create a DocType in Frappe? We break down the .json, .js, and .py files generated by the framework and how to use them.

Confused by Shopify's lack of a database? 🤯 Learn how Shopify stores your theme data, from simple Settings to complex Metafields. Perfect for devs moving from WP/Laravel.