Threlte first scene

Threlte is a 3D framework for the web. Built on top of Svelte and Three.js.
Open your terminal and run the following command to install all necessary packages for Threlte:
npm install three @threlte/core @threlte/extras @threlte/rapier @dimforge/rapier3d-compat @threlte/theatre @theatre/core @theatre/studio @threlte/xr @threlte/flex
For TypeScript install
npm install three @threlte/core @types/three
Threlte projects often use Vite for development. We'll need to adjust the Vite configuration to ensure compatibility with Threlte and Three.js.
Update your vite.config.js file by adding three to the noExternal option within the ssr configuration. This prevents Vite from externalizing Three.js during server-side rendering:
ssr: {
  noExternal: ["three"];
}
The final code of vite.config.js should look like this.
import { sveltekit } from '@sveltejs/kit/vite';
import { defineConfig } from 'vitest/config';

export default defineConfig({
   plugins: [sveltekit()],
   test: {
      include: ['src/**/*.{test,spec}.{js,ts}']
   },
   ssr: {
      noExternal: ['three']
   }
});
A typical Threlte project includes:
Route page +page.svelte, containing the Canvas component.
A 3D model or object file (e.g., 3dModelName.svelte), stored inside the lib folder, dedicated to model configuration, materials, textures, etc.
A scene file (e.g., Scene.svelte), which includes environmental elements like HDR, Camera, Grid, and imports the model file.
Open +page.svelte file and Import the Canvas component from @threlte/core along with the scene file we'll create next sceneOne.svelte
<script>
   import { Canvas } from '@threlte/core';
   import SceneOne from '../lib/SceneOne.svelte';
</script>

<section class="p-5">
   <div class="canvas-wrapper ring h-[500px]">
      <Canvas>
         <SceneOne />
      </Canvas>
   </div>
</section>
Scene fileLet’s create the sceneOne.svelte file, which should be inside lib> src folder. Create the camera, light, and mesh
<script>
   import { T } from '@threlte/core';
   import * as THREE from 'three';
   import { OrbitControls, Environment, Sky } from '@threlte/extras';
</script>


<T.PerspectiveCamera makeDefault position={[10, 10, 10]} fov={80} near={0.1} far={1000}>
	<OrbitControls
		autoRotate
		autoRotateSpeed={1.0}
		allowPan={false}
		enableDamping
		maxDistance={200}
		minDistance={10}
	/>
</T.PerspectiveCamera>

<Sky />

<T.Mesh position={[0, 0.5, 0]} scale={1}>
   <T.SphereGeometry />
   <T.MeshStandardMaterial roughness={0} color="gray" side={0} />
</T.Mesh>

<T.GridHelper args={[10, 10]} />
For this example, we used a standard Three.js sphere object. You can create separate [3dModelName].svelte files for your models or objects in the lib folder and import them into your scene file for more complex scenes.
That’s pretty much it

Want to build game mechanics in Svelte? Discover how easy it is to create a camera-locked weapon system using Threlte's component-based architecture
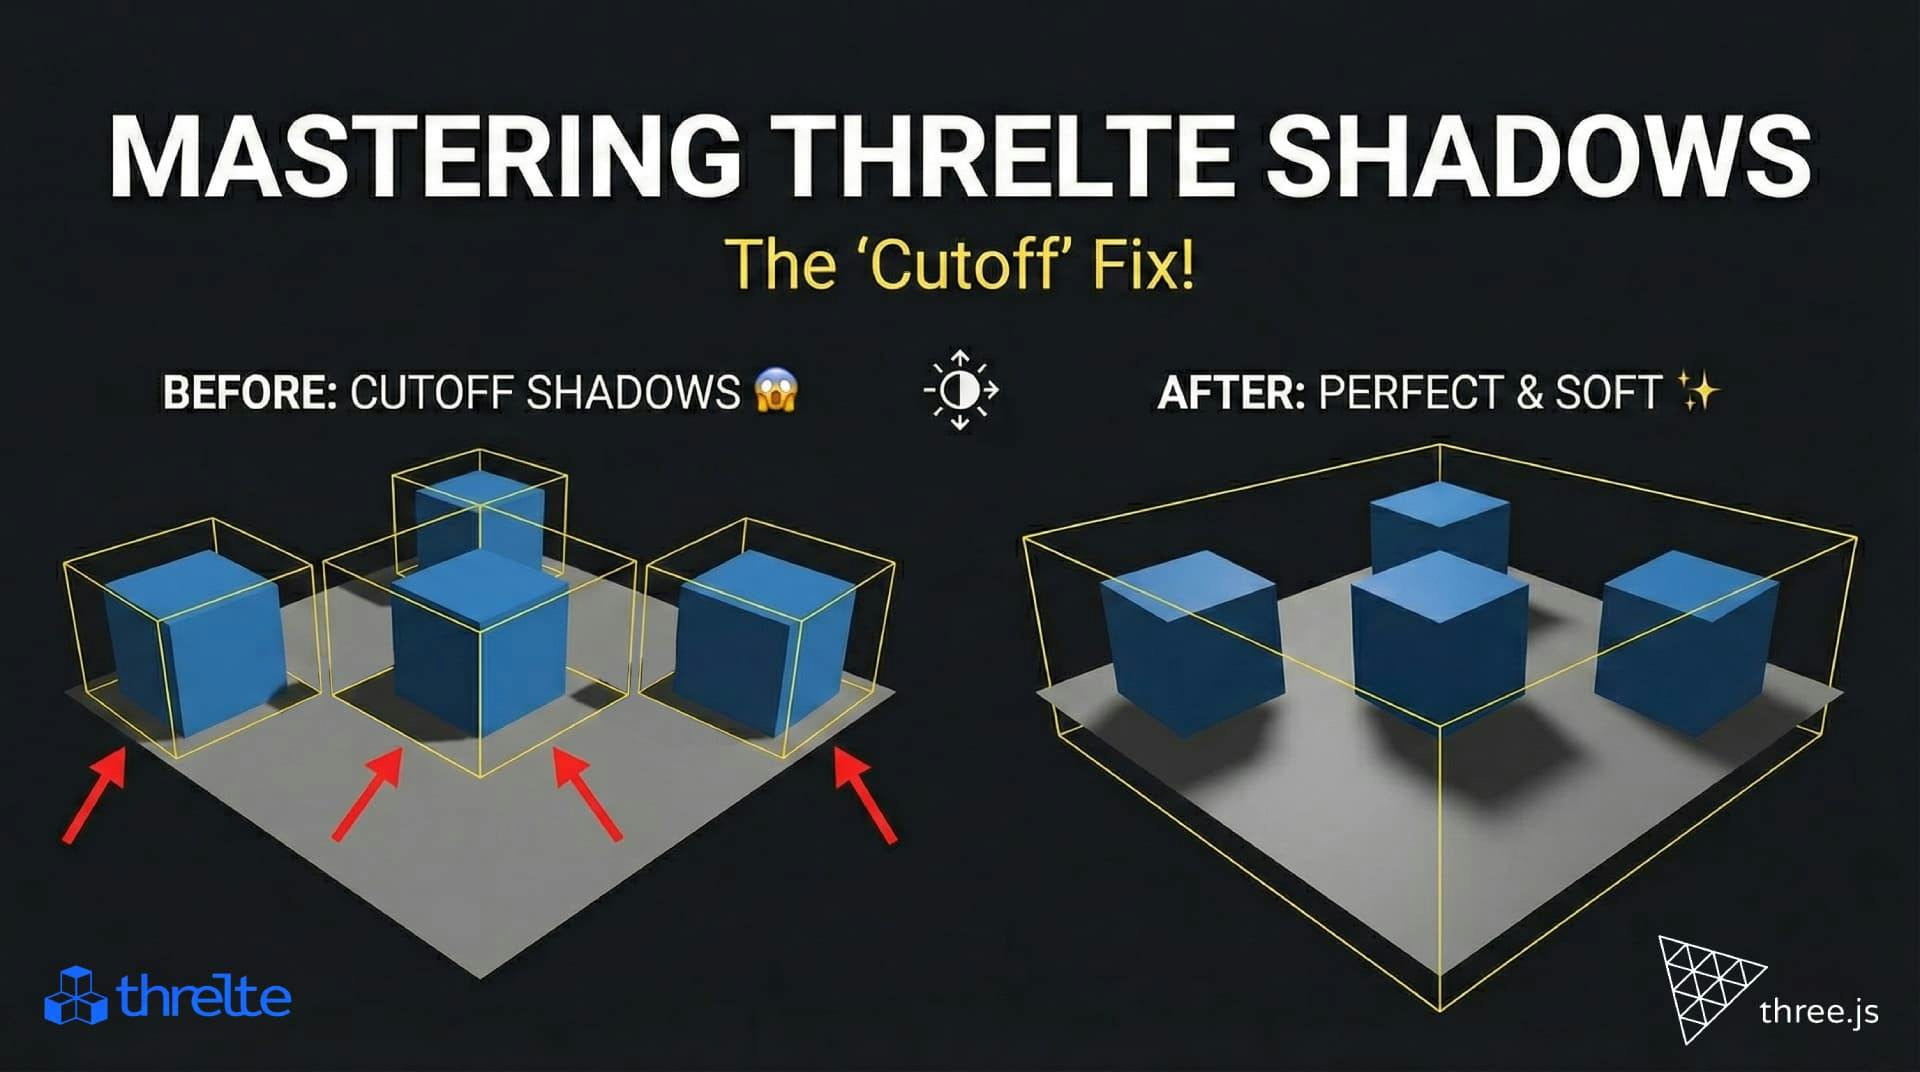
Shadows disappearing in your Threlte or Three.js scene? It’s a frustum issue. Learn how to visualize the shadow box and fix clipping instantly with this guide.
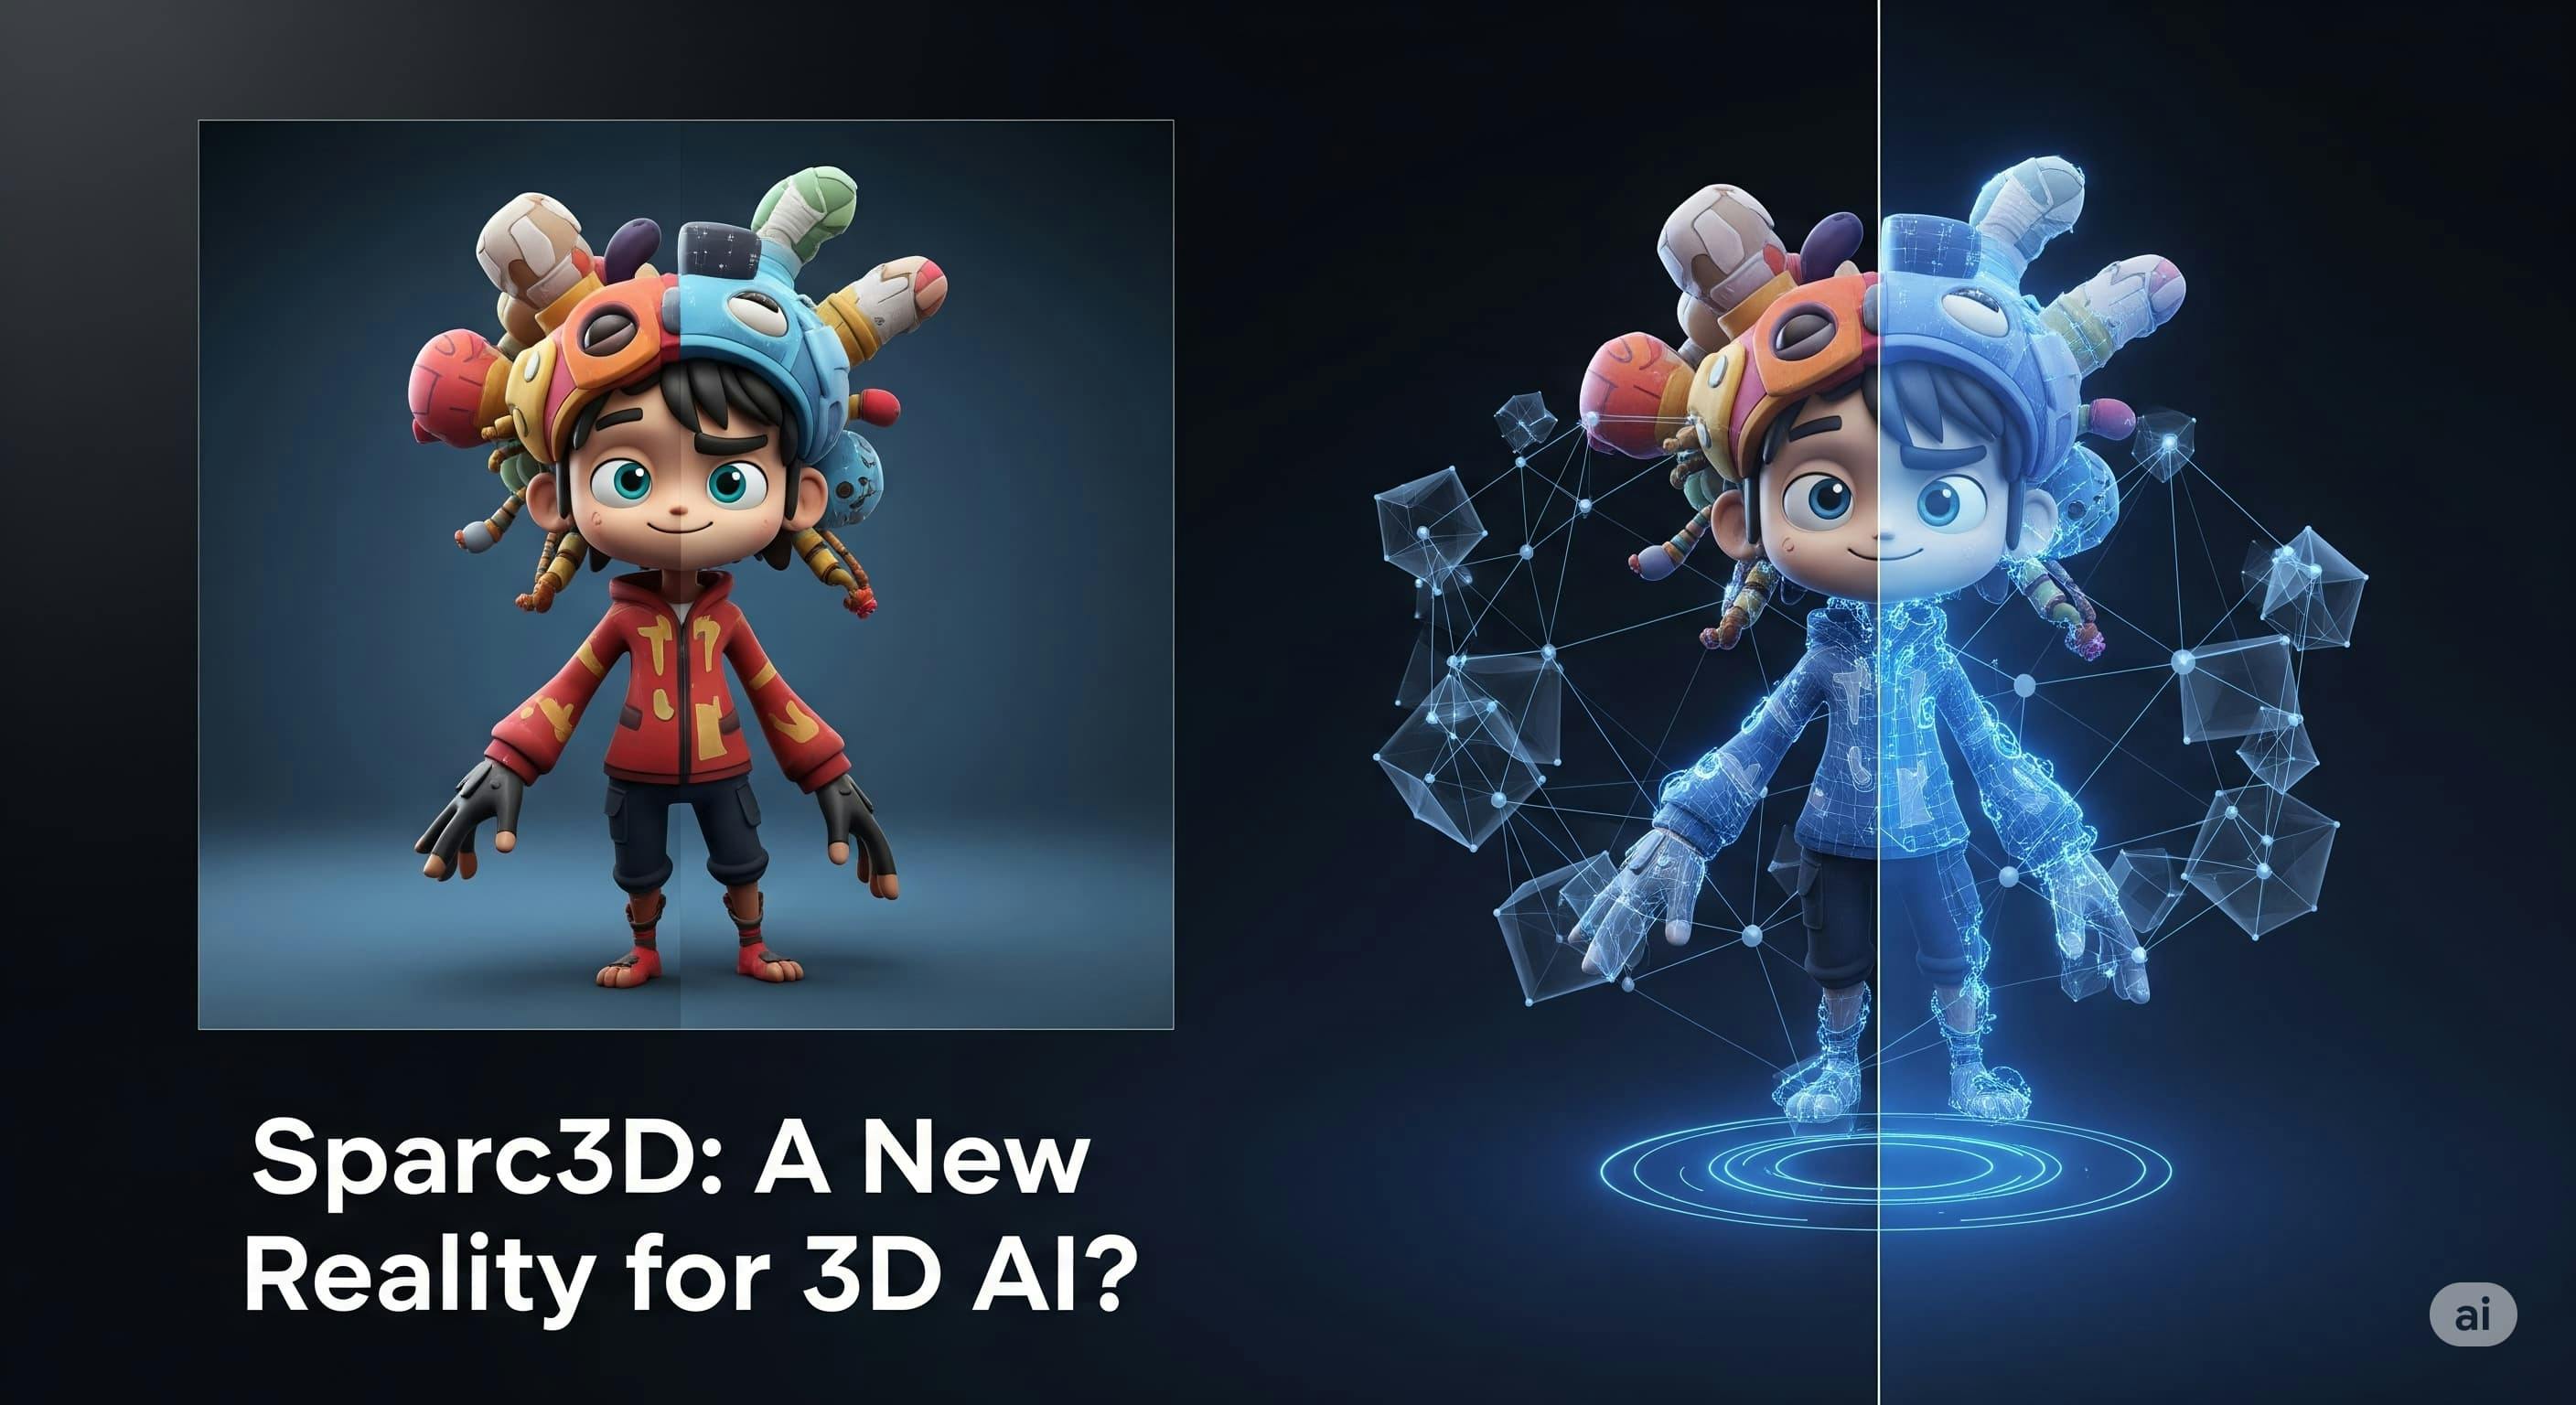
Discover Sparc3D, the cutting-edge AI that generates ultra-detailed 3D models from images at 1024³ resolution