How to Create a Custom Shopify Form Without Apps
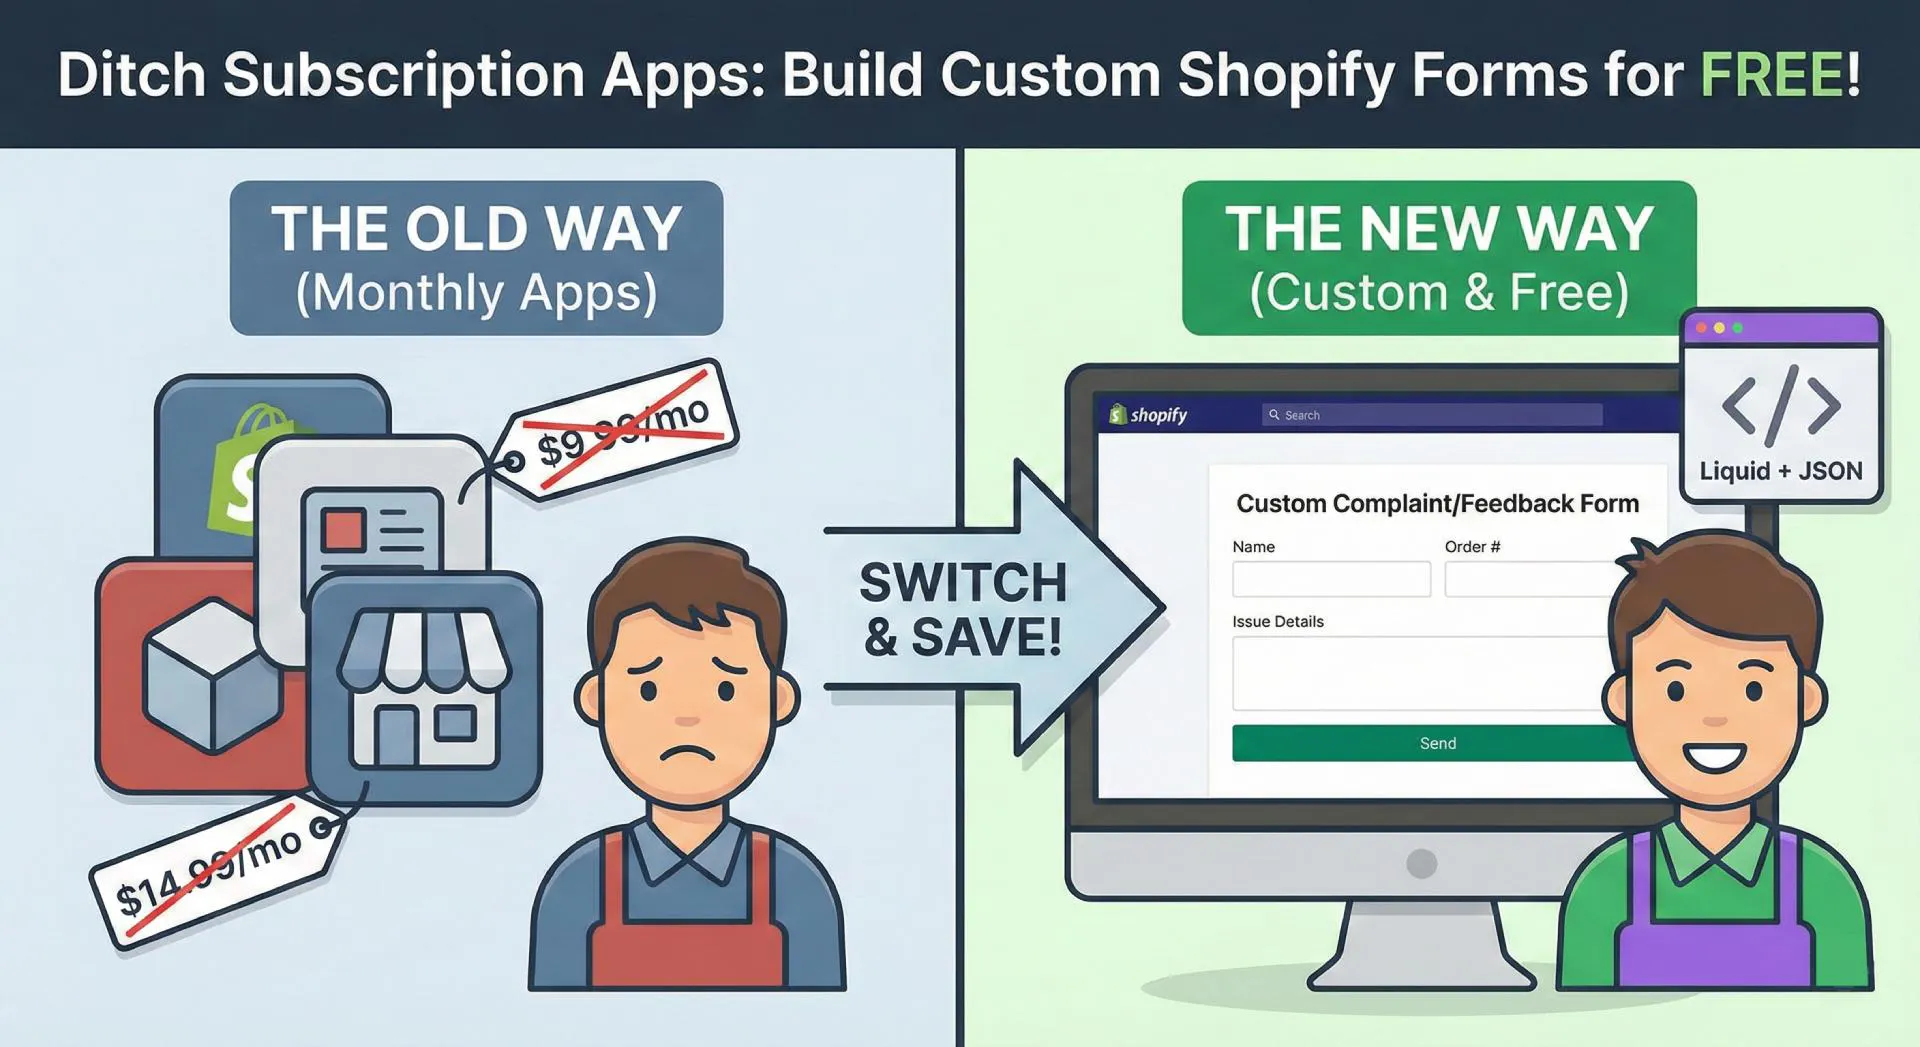
Are you still paying monthly subscriptions just to have a custom contact form on your Shopify store? 🛑 Stop right there.
With the power of Shopify Online Store 2.0, you can build robust, fully custom forms—for complaints, feedback, wholesale inquiries, you name it—without spending a dime on third-party apps. It’s cleaner, faster, and gives you total control over the design.
In this guide, we’re going to get our hands dirty (just a little!) and build a professional Complaint/Feedback Page from scratch.
10 - 15 Minutes
In the old days of Shopify, this was hard. Now, it's elegant. By separating the Form Logic (Section) from the Page Structure (Template), you get:
Let’s build it. 🔨
First, we need the "engine" of our form. We'll create a new section file that handles the UI and the form submission logic using Shopify's native {% form 'contact' %} tag.
File to create: sections/custom-complaint-form.liquid
Paste this code (I've polished it for you ✨):
<div class="page-width py-12">
  <div class="grid gap-8">
    {%- if section.settings.heading != blank -%}
      <h2 class="text-3xl font-bold text-center mb-6">{{ section.settings.heading }}</h2>
    {%- endif -%}

    {% form 'contact', class: 'max-w-xl mx-auto space-y-4' %}

      {%- if form.posted_successfully? -%}
        <div class="p-4 bg-green-100 text-green-700 rounded-lg" role="alert">
          ✅ {{ section.settings.success_message | default: 'Thanks! We have received your feedback.' }}
        </div>
      {%- elsif form.errors -%}
        <div class="p-4 bg-red-100 text-red-700 rounded-lg">
          {{ form.errors | default_errors }}
        </div>
      {%- endif -%}

      <!-- Name Field -->
      <div>
        <label for="ContactFormName" class="block text-sm font-medium mb-1">Name</label>
        <input type="text" id="ContactFormName" name="contact[name]"
               class="w-full border rounded p-2"
               placeholder="John Doe"
               required>
      </div>

      <!-- Email Field -->
      <div>
        <label for="ContactFormEmail" class="block text-sm font-medium mb-1">Email</label>
        <input type="email" id="ContactFormEmail" name="contact[email]"
               class="w-full border rounded p-2"
               placeholder="[email protected]"
               required>
      </div>

      <!-- Custom Field: Type of Inquiry -->
      <div>
         <label for="ContactFormType" class="block text-sm font-medium mb-1">Feedback Type</label>
         <select id="ContactFormType" name="contact[feedback_type]" class="w-full border rounded p-2">
           <option>General Feedback</option>
           <option>Product Complaint</option>
           <option>Shipping Issue</option>
           <option>Other</option>
         </select>
      </div>

      <!-- Message Body -->
      <div>
        <label for="ContactFormMessage" class="block text-sm font-medium mb-1">Details</label>
        <textarea rows="5" id="ContactFormMessage" name="contact[body]"
                  class="w-full border rounded p-2"
                  placeholder="Tell us what happened..."
                  required></textarea>
      </div>

      <!-- Submit Button -->
      <button type="submit" class="w-full bg-black text-white font-bold py-3 rounded hover:bg-gray-800 transition">
        {{ section.settings.button_label | default: 'Send Message' }}
      </button>

    {% endform %}
  </div>
</div>

{% schema %}
{
  "name": "Custom Constraint Form",
  "settings": [
    {
      "type": "text",
      "id": "heading",
      "label": "Form Heading",
      "default": "We Value Your Feedback"
    },
    {
      "type": "text",
      "id": "button_label",
      "label": "Button Label",
      "default": "Submit Feedback"
    },
    {
      "type": "richtext",
      "id": "success_message",
      "label": "Success Message",
      "default": "<p>Thank you. Your submission has been received.</p>"
    }
  ],
  "presets": [
    {
      "name": "Custom Complaint Form"
    }
  ]
}
{% endschema %}
🔥 Pro Tip: Notice the
name="contact[custom_field_name]"pattern? You can add any field you want (Address, Order ID, Pet's Name) just by following that pattern. Shopify will package it up and email it to you!
Now we need a page template that uses this section. In Online Store 2.0, we use JSON templates for this.
File to create: templates/page.complaint-feedback.json
{
  "sections": {
    "main": {
      "type": "custom-complaint-form",
      "settings": {
        "heading": "Complaint & Feedback Form",
        "button_label": "Submit Report"
      }
    }
  },
  "order": ["main"]
}
This file tells Shopify: "Hey, when someone renders this page, load the component we just built!"
The code is done. 🎉 Now let's hook it up in the Shopify Admin.
complaint-feedback (the template we just made).boom! 💥 Your custom form is live.
"But where do the emails go?" 🤔
Since we used the native {% form 'contact' %}, Shopify treats this just like your standard Contact Us page.
contact[body]: You must have one field named contact[body] or contact[comments] for the main message.contact[My Field] usually work, but contact[my_field] is safer code practice.{% schema %}, you won't be able to edit the text in the Theme Editor!You've just unlocked a superpower. You can use this exact same pattern for:
Check out the Shopify Liquid Documentation for more advanced form tags, or explore Tailwind CSS if you want to spice up your styling even more.
Learn how to enhance your Frappe Desk UI by adding a custom, dynamic top bar. Follow this beginner-friendly, step-by-step tutorial to display user profiles, statuses, and more!

Thinking of building on Shopify? Discover the hidden cons, restrictions, and costly shortcomings of Shopify's framework — from locked form data to no file uploads — before you commit.

Confused by Vue 3's reactivity options? Master the differences between computed, watch, and watchEffect with real-world examples and best practices.