Shopify Theme Development Part 3: The Product Page

Welcome back to the Shopify Theme Development series! 🚀
Continuing from Part 1: Setup & Code Version Control↗ and Part 2: Search & Blog Setup↗, this post will guide you through creating a Single Product Page for your Shopify theme.
Now, let's dive into one of the most important templates in any e-commerce store: the Single Product Page. This is where your customers make their buying decisions, so getting it right is crucial.
The first thing to understand is that a single product page in Shopify can be accessed via a couple of different URL structures. The difference depends on how a user gets to the page.
within: collectionThis is the canonical, or primary, URL for a product. It doesn't contain any collection information.
http://127.0.0.1:9292/products/adidas-classic-backpack-legend-ink-multicolourYou'll see this structure when the link in your Liquid code is simple, like this:
<a href="{{ product.url }}" class="btn btn-sm btn-outline btn-neutral">
  View Product
</a>
within: collectionThis structure is generated when you use the within: collection Liquid filter. Notice how the collection handle (all-products in this example) is now part of the URL.
http://127.0.0.1:9292/collections/all-products/products/adidas-classic-backpack-legend-ink-multicolourThis URL is created by adding the filter to your link:
<a href="{{ product.url | within: collection }}" class="btn btn-sm btn-outline btn-neutral">
  View Product
</a>
So, what's the difference? The within: collection filter is incredibly useful. It tells Shopify to "remember" which collection the user was browsing when they clicked the product. This context is perfect for features like breadcrumbs, allowing you to link the user back to the specific collection they came from.
You can learn more about this filter from the official Shopify within filter documentation.
For Shopify's Online Store 2.0 (OS 2.0) architecture, you don't just create a single product.liquid file anymore. Instead, you use a JSON template that points to sections.
Here are the bare minimum files you need:
templates/product.jsonFirst, create a file named product.json inside your templates directory. This file acts as a blueprint, telling Shopify which sections to load and in what order.
{
  "sections": {
    "main-product": {
      "type": "main-product",
      "settings": {}
    }
  },
  "order": ["main-product"]
}
This simple JSON file does one job: it tells Shopify to load a section file whose type is main-product. You can learn more about JSON templates from the official docs.
sections/main-product.liquidAs suggested by our JSON file, we now need to create main-product.liquid inside the sections directory. This file contains the actual HTML and Liquid code that renders your product's details.
Here is a basic starter example:
<section class="p-8" data-section-id="{{ section.id }}">
  <div class="max-w-4xl mx-auto grid grid-cols-1 md:grid-cols-2 gap-8">

    <div>
      {% if product.featured_image %}
        <img
          width="auto"
          height="auto"
          src="{{ product.featured_image | image_url: width: 800 }}"
          alt="{{ product.featured_image.alt | escape }}"
          loading="lazy"
          class="w-full rounded-lg shadow-lg"
        >
      {% else %}
        {% comment %}
          Show a placeholder if no image exists.
          Learn about the placeholder_svg_tag here:
          https://sabbirz.com/[[SUGGESTED_EXTERNAL_LINK_URL_placeholder_svg_tag_docs]]
        {% endcomment %}
        {{ 'product-1' | placeholder_svg_tag: 'placeholder-svg w-full h-auto' }}
      {% endif %}
    </div>

    <div>
      <h1 class="text-3xl font-bold mb-2">{{ product.title }}</h1>
      <p class="text-lg text-gray-600 mb-4">{{ product.vendor }}</p>

      <div class="prose mb-4">
        {{ product.description }}
      </div>

      <p class="text-2xl font-semibold text-neutral">
        {% comment %}
          The 'money' filter formats the price based on your store's currency settings.
          Docs: https://sabbirz.com/[[SUGGESTED_EXTERNAL_LINK_URL_money_filter_docs]]
        {% endcomment %}
        {{ product.price | money }}
      </p>

      {% comment %}
        We will build the "Add to Cart" form in a future tutorial!
      {% endcomment %}
    </div>
  </div>
</section>

{% comment %}
  Every section file MUST have a schema tag, even if it's empty.
  This makes the section configurable in the Shopify Theme Editor.
{% endcomment %}
{% schema %}
{
  "name": "Main product",
  "settings": []
}
{% endschema %}
Note: The
HTMLabove uses Tailwind CSS classes for styling (e.g.,p-8,max-w-4xl,grid). If you're not using Tailwind, feel free to remove these classes and replace them with your own CSS.
Now, if you click on any product in your local development store, this main-product.liquid file will render and display the product's information. ✨

If you have your GitHub repository connected to your online store (as we set up in Part 1: Setup & Code Version Control↗), you can commit these changes and check the result live on your Shopify admin's theme customizer!
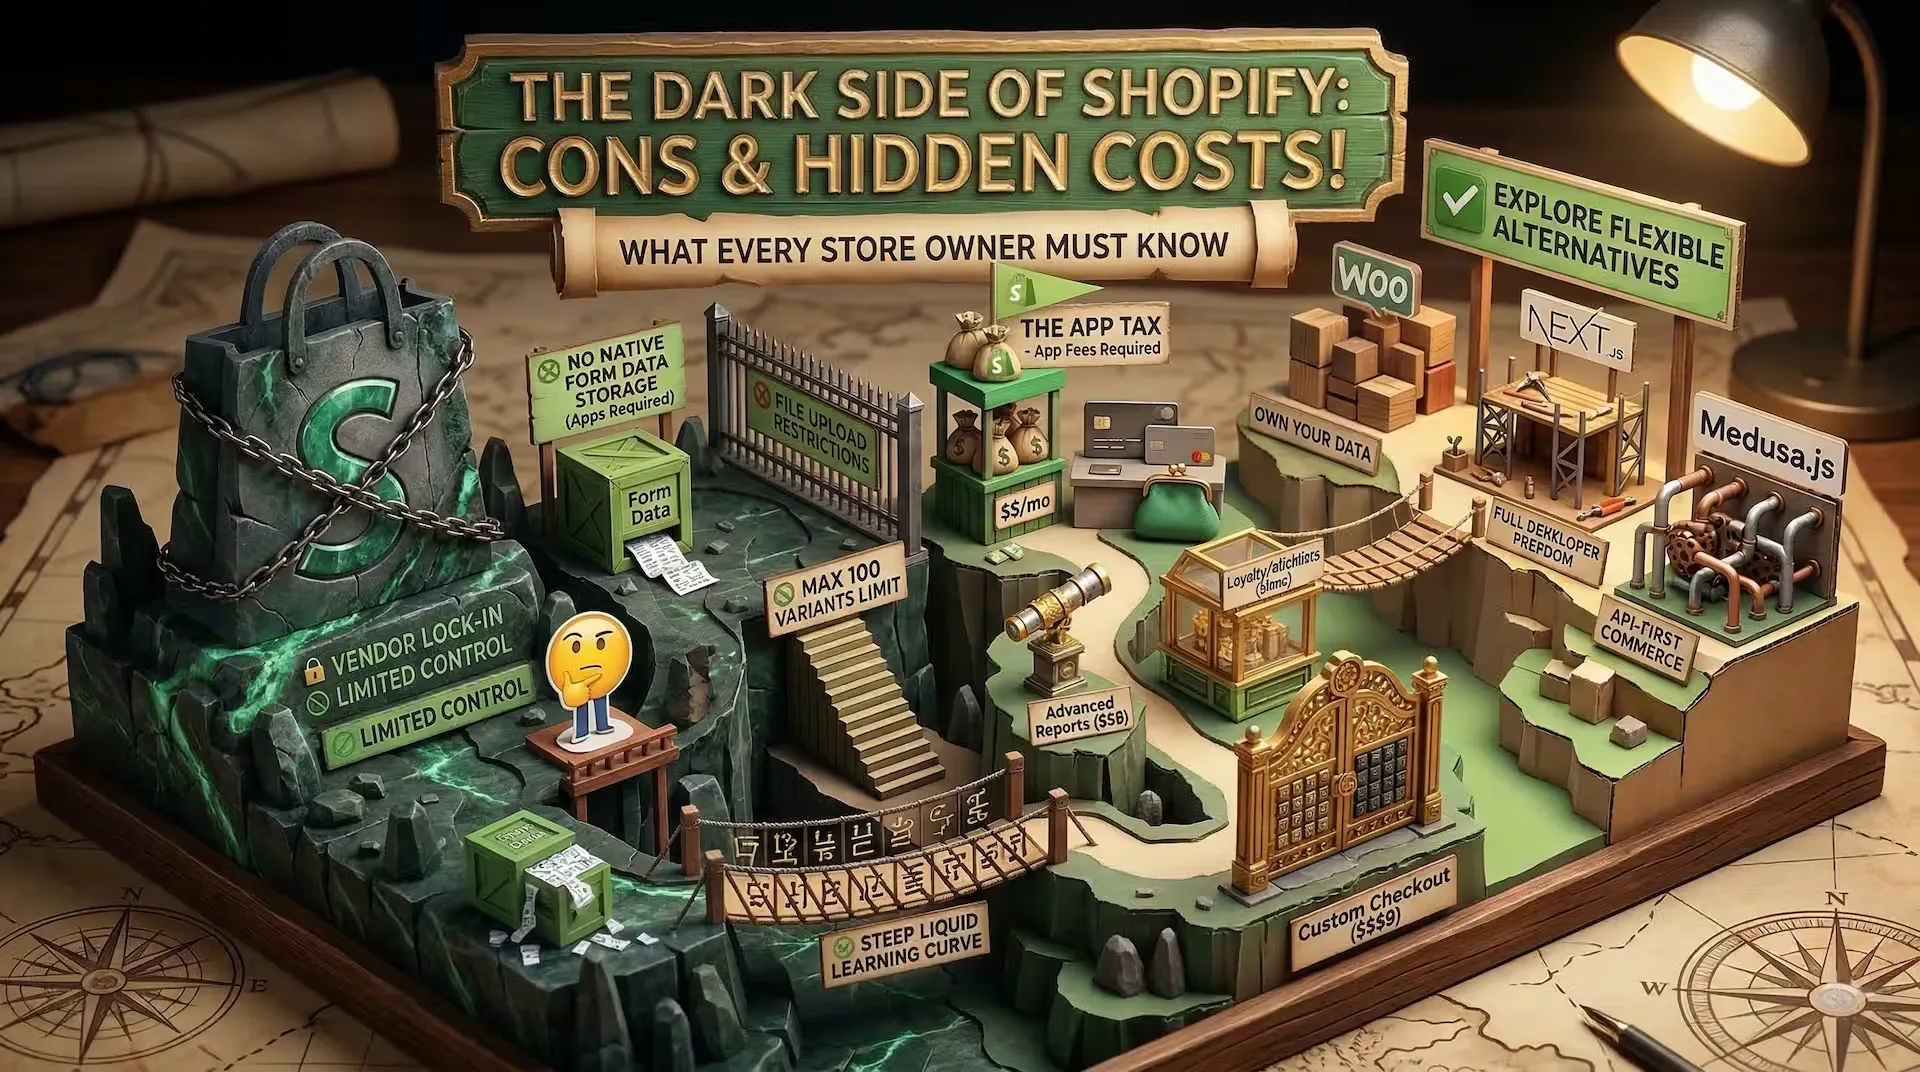
Thinking of building on Shopify? Discover the hidden cons, restrictions, and costly shortcomings of Shopify's framework — from locked form data to no file uploads — before you commit.
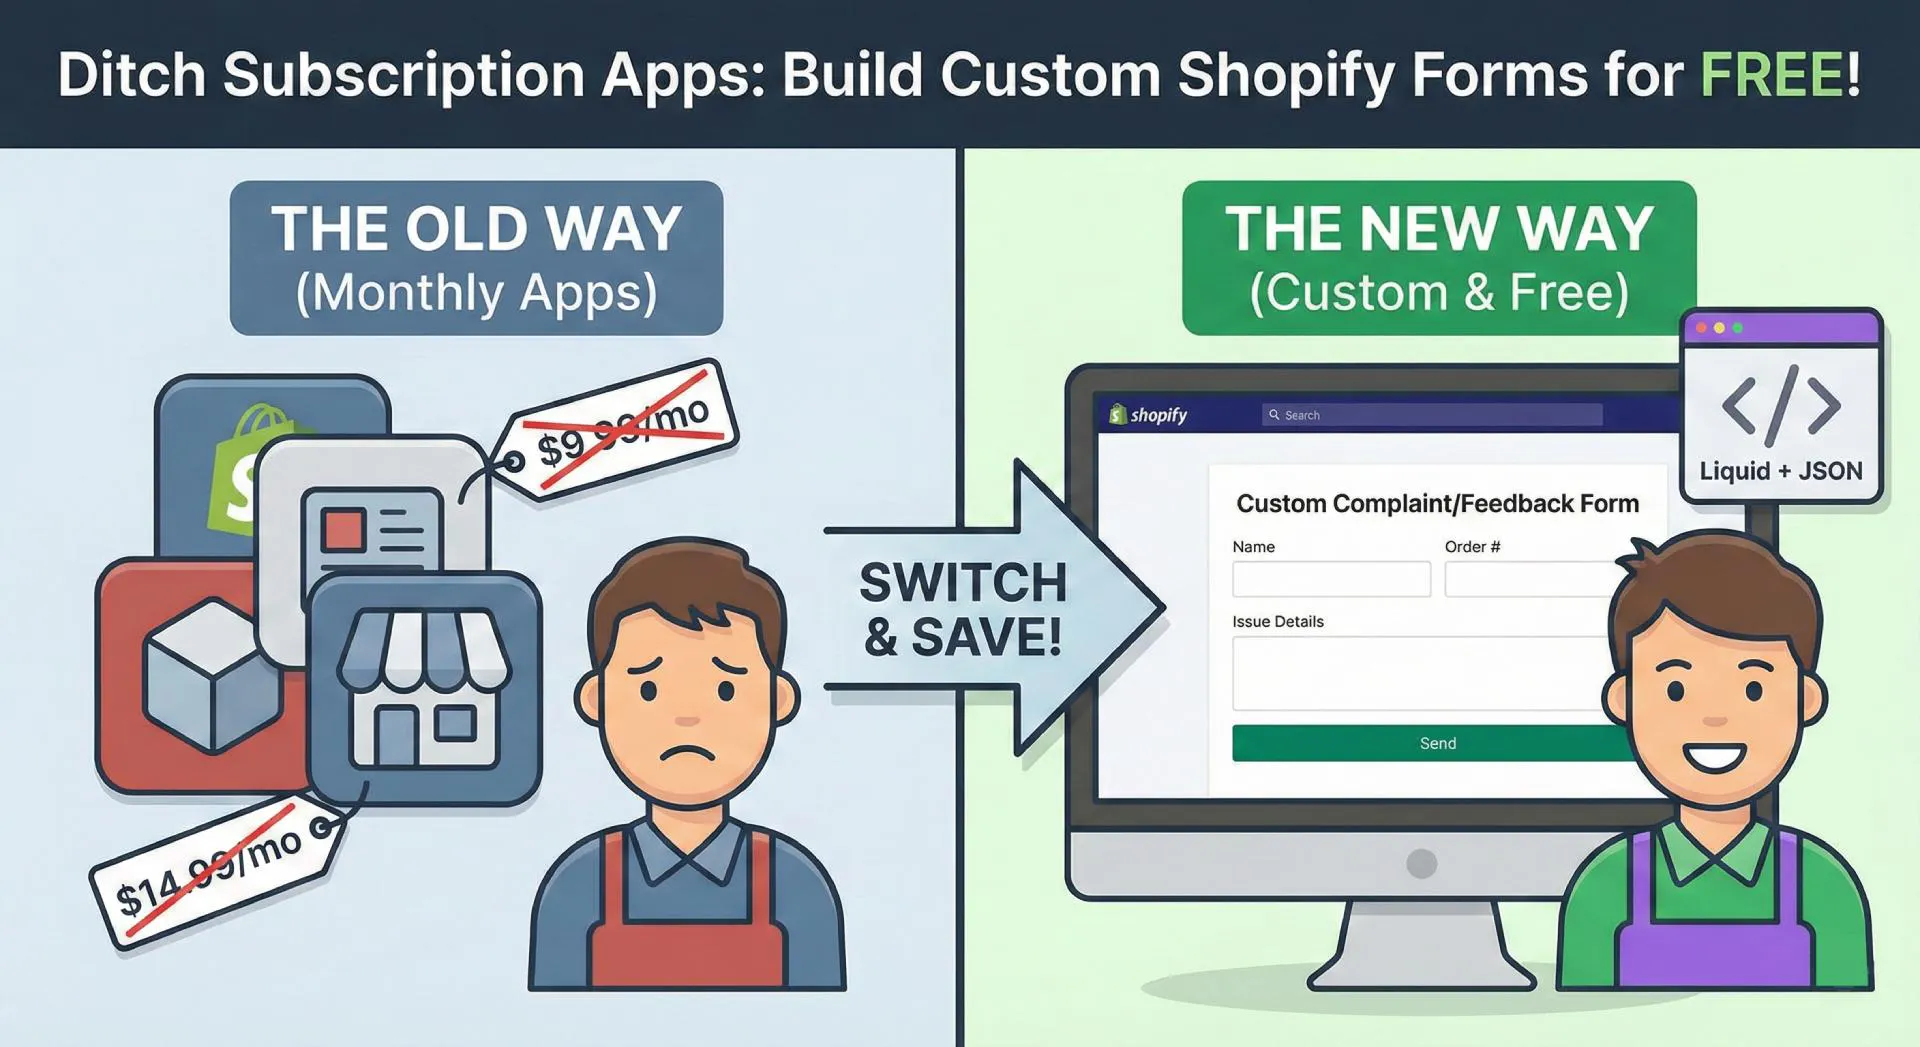
Learn how to build a custom complaint or feedback form in Shopify Online Store 2.0 using Liquid and JSON templates. No monthly app fees required

Confused by Shopify's lack of a database? 🤯 Learn how Shopify stores your theme data, from simple Settings to complex Metafields. Perfect for devs moving from WP/Laravel.