How to Add a Title in React Native (With or Without Navigation)
When building mobile apps with React Native, a clear, consistent title greatly improves user experience. You can set the screen's header title or show a title inside your layout. React Native offers multiple ways to do both.
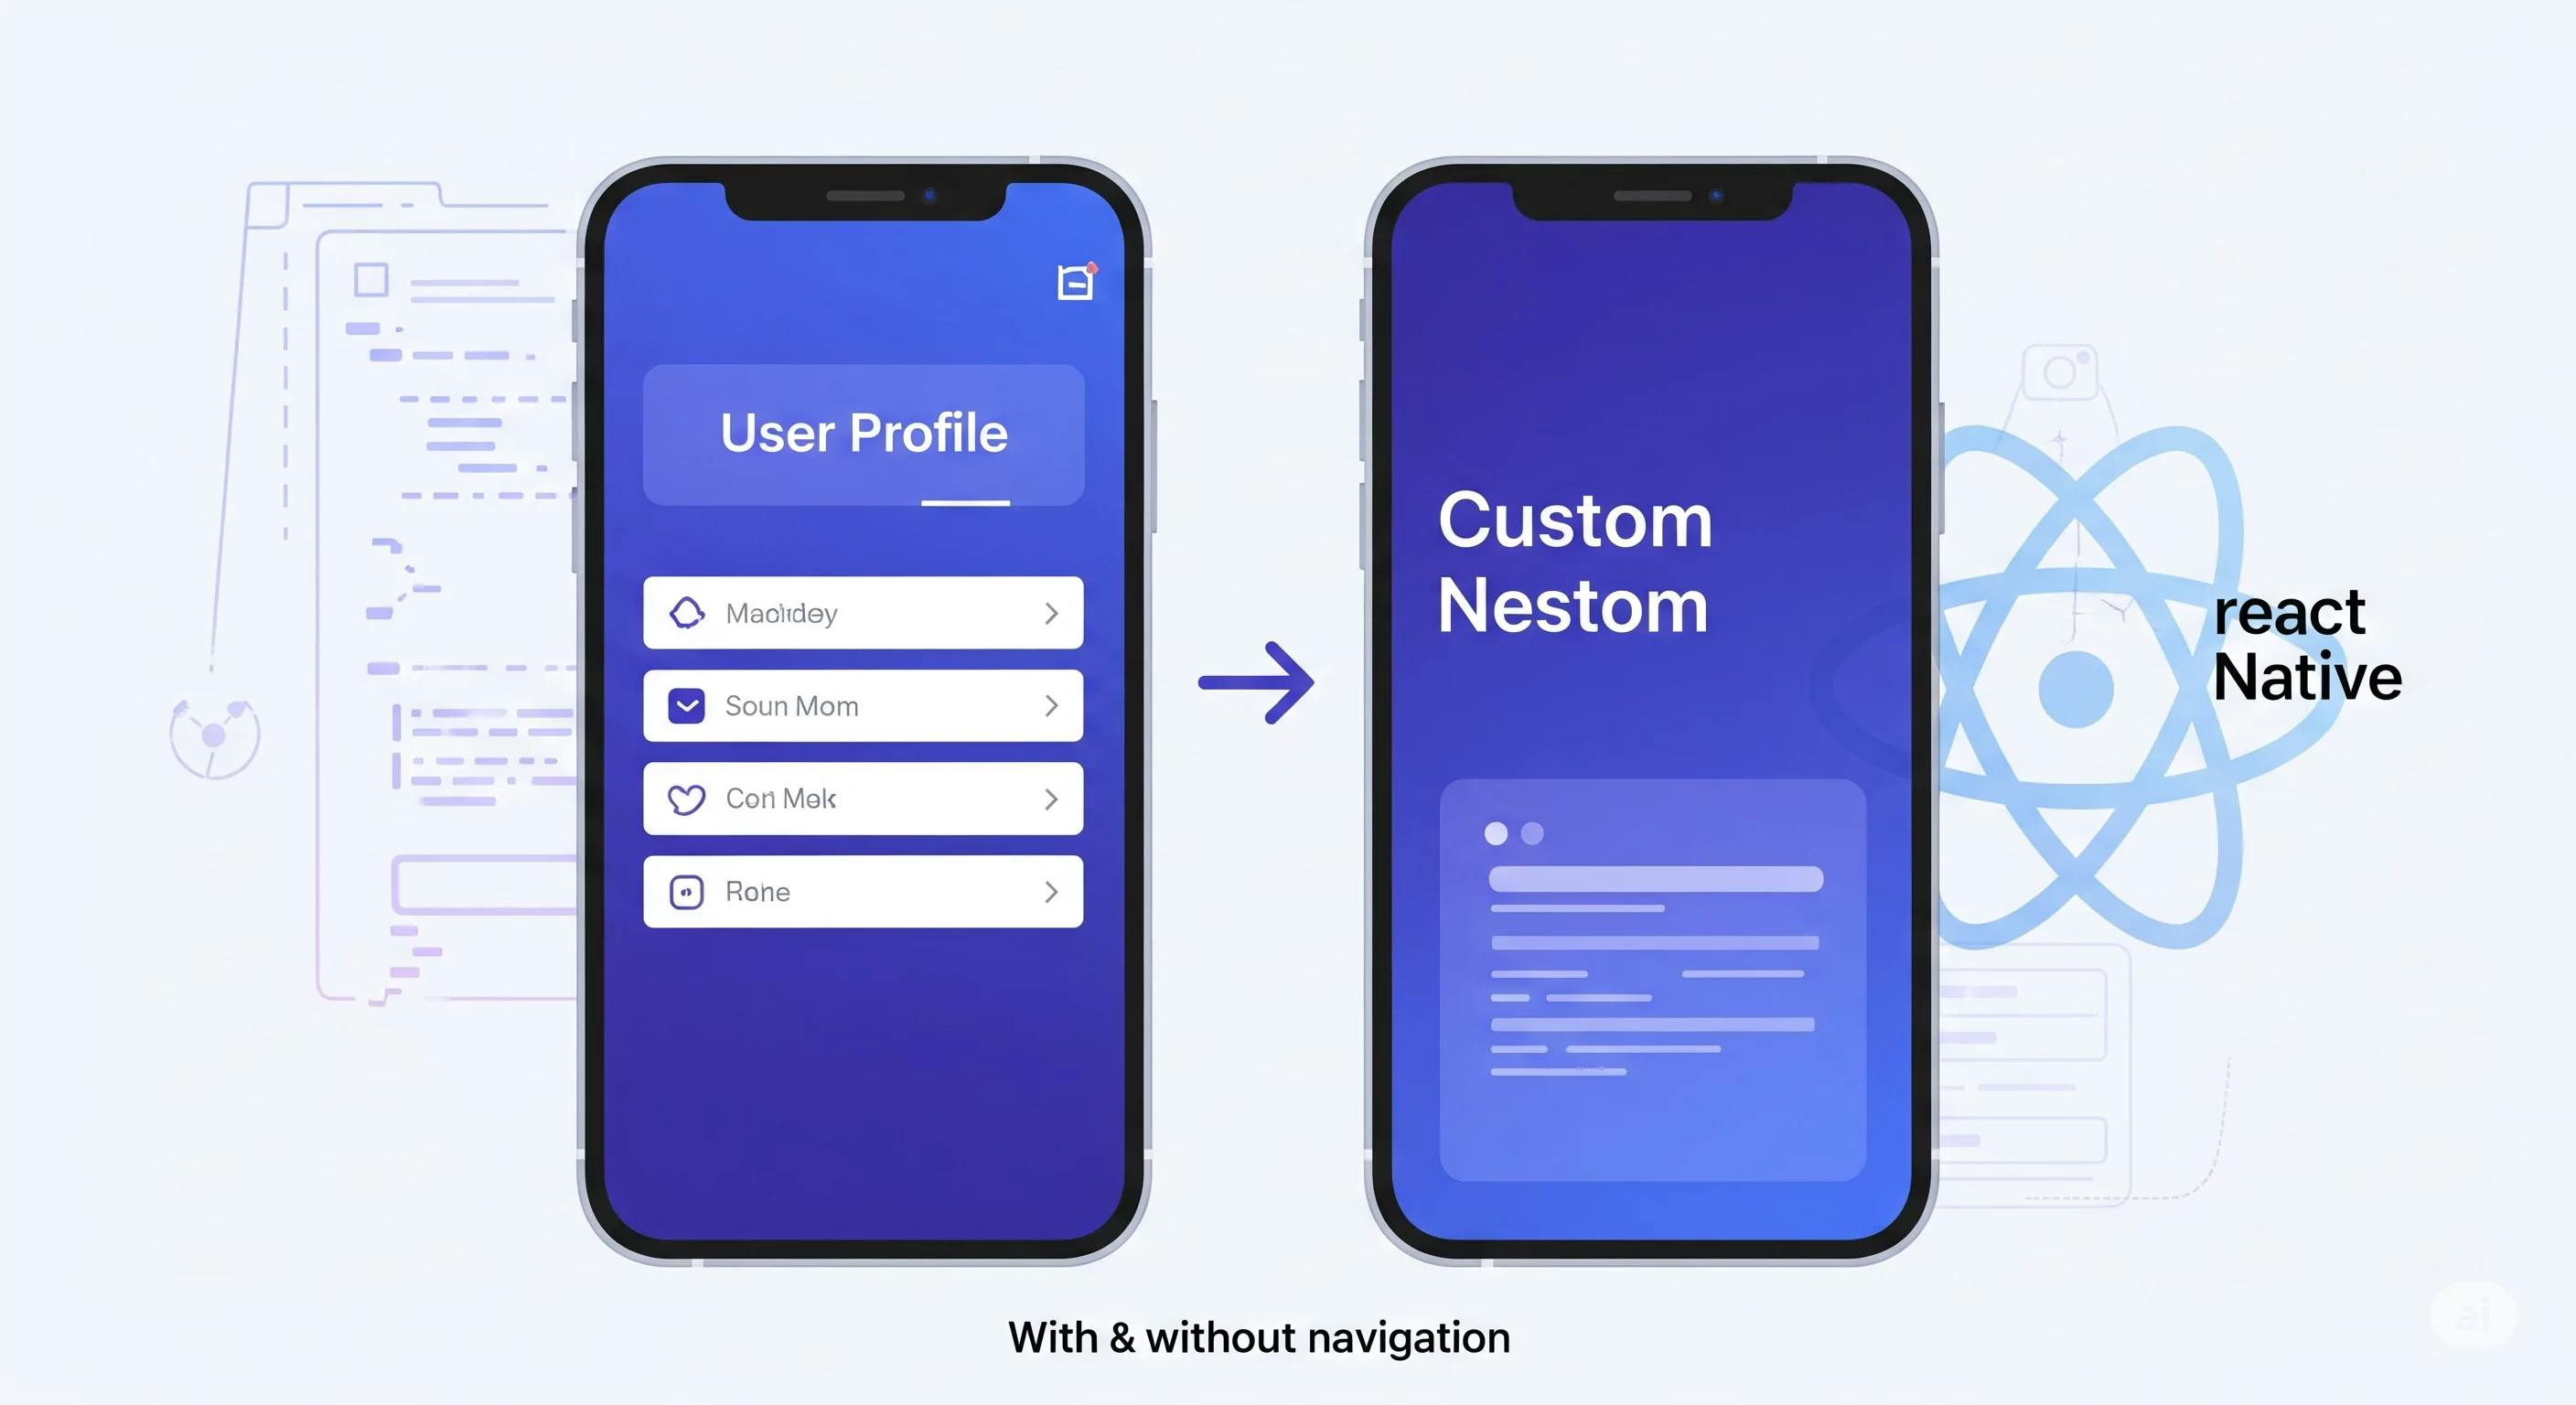
In this post, you’ll learn best practices for adding titles—with and without react-navigation.
Titles help users know where they are. They enhance usability, add context, and support a professional design.
Here are the two main ways to add titles:
If you're using @react-navigation/native with a stack navigator, adding titles is simple.
<Stack.Screen
  name="Profile"
  component={ProfileScreen}
  options={{ title: 'User Profile' }}
/>
This sets "User Profile" as the header title for the Profile screen.
Sometimes, you want the title to change based on content:
import { useLayoutEffect } from 'react';

function ProfileScreen({ navigation, route }) {
  const { userName } = route.params;

  useLayoutEffect(() => {
    navigation.setOptions({ title: userName });
  }, [navigation, userName]);

  return <Text>{userName}'s Profile</Text>;
}
📝 Tip: Use
useLayoutEffectso the title updates before the screen renders.
Sometimes, all you need is a simple in-view title.
import { Text, View, StyleSheet } from 'react-native';

export default function HomeScreen() {
  return (
    <View style={styles.container}>
      <Text style={styles.title}>Welcome to the App</Text>
    </View>
  );
}

const styles = StyleSheet.create({
  container: {
    padding: 20,
    backgroundColor: '#fff',
  },
  title: {
    fontSize: 24,
    fontWeight: 'bold',
    marginBottom: 10,
  },
});
Create a reusable <Title /> component:
export function Title({ children }) {
  return (
    <Text style={{ fontSize: 22, fontWeight: '600', marginBottom: 12 }}>
      {children}
    </Text>
  );
}
Use it like this:
<Title>Settings</Title>
You can style the header title using options:
<Stack.Screen
  name="Dashboard"
  component={DashboardScreen}
  options={{
    title: 'My Dashboard',
    headerStyle: {
      backgroundColor: '#6200ee',
    },
    headerTintColor: '#fff',
    headerTitleStyle: {
      fontWeight: 'bold',
    },
  }}
/>
Adding proper titles is about clarity, consistency, and professionalism. Whether your app has one screen or many, always help users know where they are.
| Scenario | Best Method |
|---|---|
| Basic title in navigation | options={{ title: "..." }} |
| Dynamic title based on content | navigation.setOptions({ title }) |
| Manual in-view title | <Text style={...}>Your Title</Text> |
| Reusable styling | Custom <Title /> component |

Learn how to enhance your Frappe Desk UI by adding a custom, dynamic top bar. Follow this beginner-friendly, step-by-step tutorial to display user profiles, statuses, and more!

Learn how to create a custom `Year` field type in Frappe v15 using Python patches, Property Setters, custom metadata, and a JavaScript control, all from your own app

Confused by Vue 3's reactivity options? Master the differences between computed, watch, and watchEffect with real-world examples and best practices.