How to Integrate TailwindCSS with daisyui in Shopify: Step-by-Step Guide


.shopifyignore in the root folder of your Shopify project and add the following content:node_modules
package.json
package-lock.json.gitignore file (if you don't already have one) and add node_modules:node_modulespackage.json:npm init -ynpm install tailwindcss @tailwindcss/viteassets directory, create a file named tailwind.input.css and add the following line:@import "tailwindcss";shopify.theme.toml with the following content (replace the URL with your store URL):[environments.development]
store = "https://your-store-name.myshopify.com/"
concurrently npm package as a development dependency. This package helps run multiple commands simultaneously:npm install concurrently --save-devpackage.json file and add the following script inside the "scripts" section:"dev": "concurrently \"shopify theme dev -e development\" \"npx @tailwindcss/cli -i ./assets/tailwind.input.css -o ./assets/tailwind.output.css --watch\""npm run devassets/tailwind.output.css and notice that TailwindCSS has purged unused styles and kept only the required ones. theme.liquid file and before the closing </head> tag, include the generated CSS file:<head>
<!-- Other head elements -->
<meta name="viewport" content="width=device-width, initial-scale=1.0">
{{ 'tailwind.output.css' | asset_url | stylesheet_tag: preload: true, media: 'all' }}
</head>Note: If you don’t add
<meta name="viewport" content="width=device-width, initial-scale=1.0">in thetheme.liquidthetailwindcssmedia queries WILL NOT WORK.

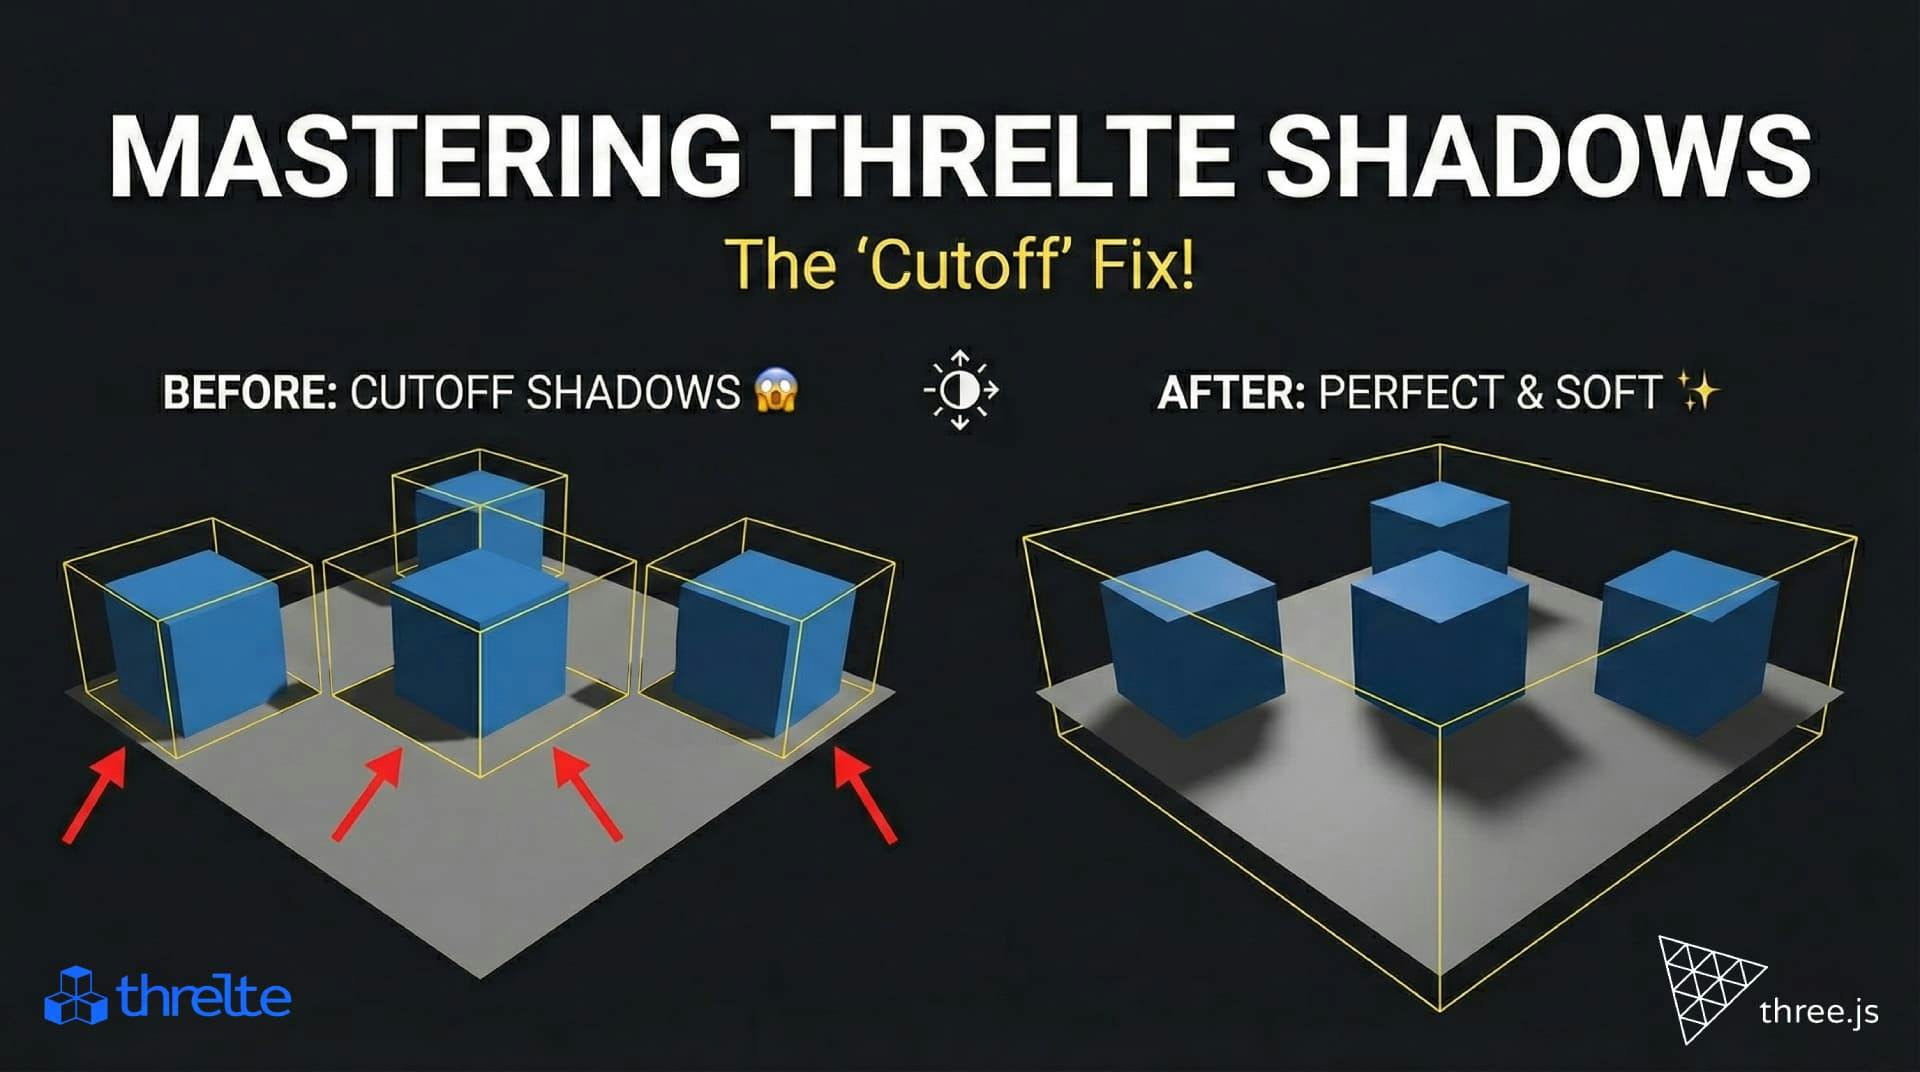
Shadows disappearing in your Threlte or Three.js scene? It’s a frustum issue. Learn how to visualize the shadow box and fix clipping instantly with this guide.

What happens when you create a DocType in Frappe? We break down the .json, .js, and .py files generated by the framework and how to use them.

Confused by Shopify's lack of a database? 🤯 Learn how Shopify stores your theme data, from simple Settings to complex Metafields. Perfect for devs moving from WP/Laravel.