Mastering Weight Painting in Blender: Essential Skills for Success in Character Rigging
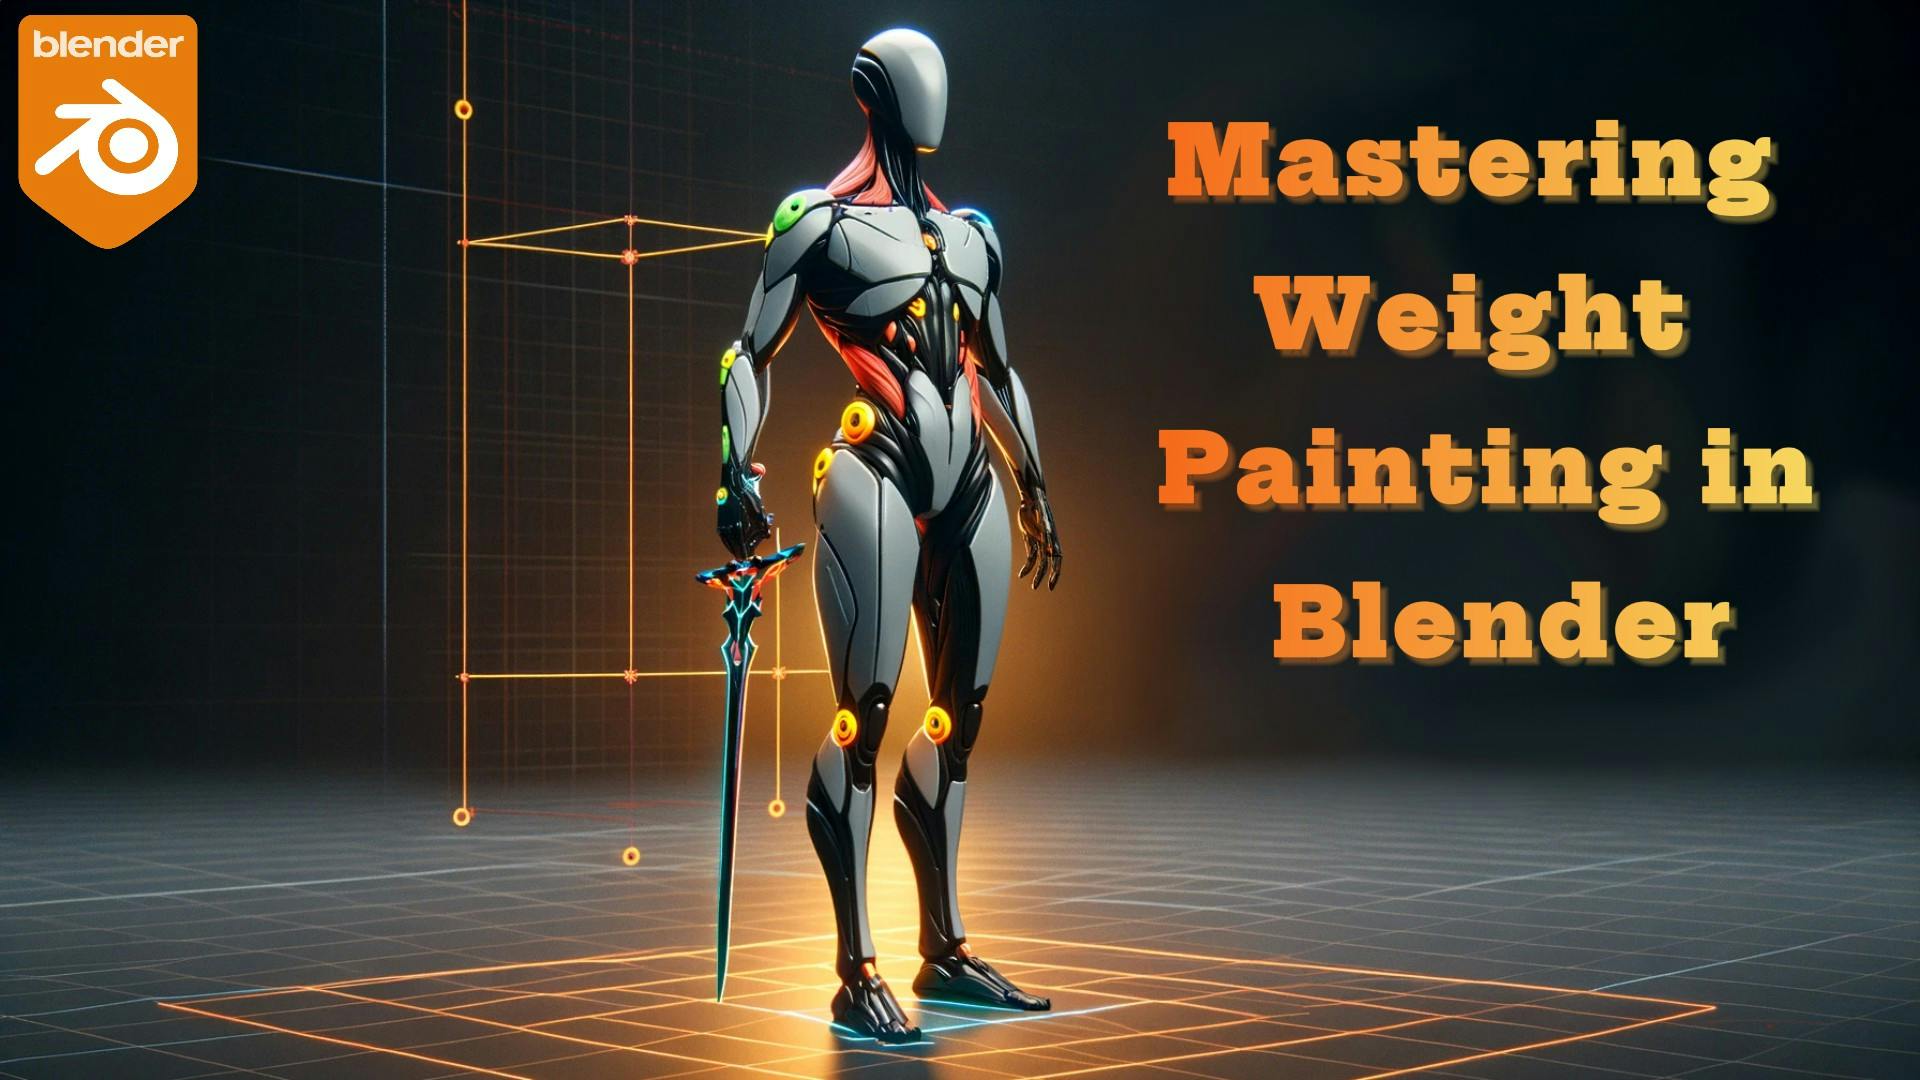
Weight painting in Blender is a pivotal skill for 3D animators and riggers, determining how a character's mesh moves with its bones. Mastering this technique transforms stiff figures into lifelike beings with natural, fluid movements.
In this post, we'll explore the key tools and skills that every weight painter needs to succeed. From utilizing B-Bones for fine-tuning deformations to leveraging Auto Normalize for balanced influence, these insights will polish your rigging and animation process. Whether you're starting or honing your craft, these tips will bring your characters to vivid realism. Let's begin our journey into the nuanced world of weight painting.
| Tools/ Skill | Instruction |
|---|---|
| B-Bone | Scale, Bendy Bones |
| Mirror | |
| Auto Normalize | While in weight paint mode, go to the Tool tab inside the Options section and activate Auto Normalize |
| Weight paint mode with the bone selection | Active weight paint mode by selecting the bone first then shift select the face then press ctrl + tab and from the pie menu select weight paint |
| Understand how to zero-weight paint any bone | |
| Mirror Face, Edge, and vertex selection | Select faces and press ctrl + shift + m to mirror selection on both sides |
| Weight paint on selected vertex only | While in weight paint mode, look at the top where face and vertex selection is available, use these two options to paint on the selected area only |
| Blur Weight Paint tool | Use this tool a lot |
| Usage of gradient tool | Learn and understand the gradient weight paint tool |
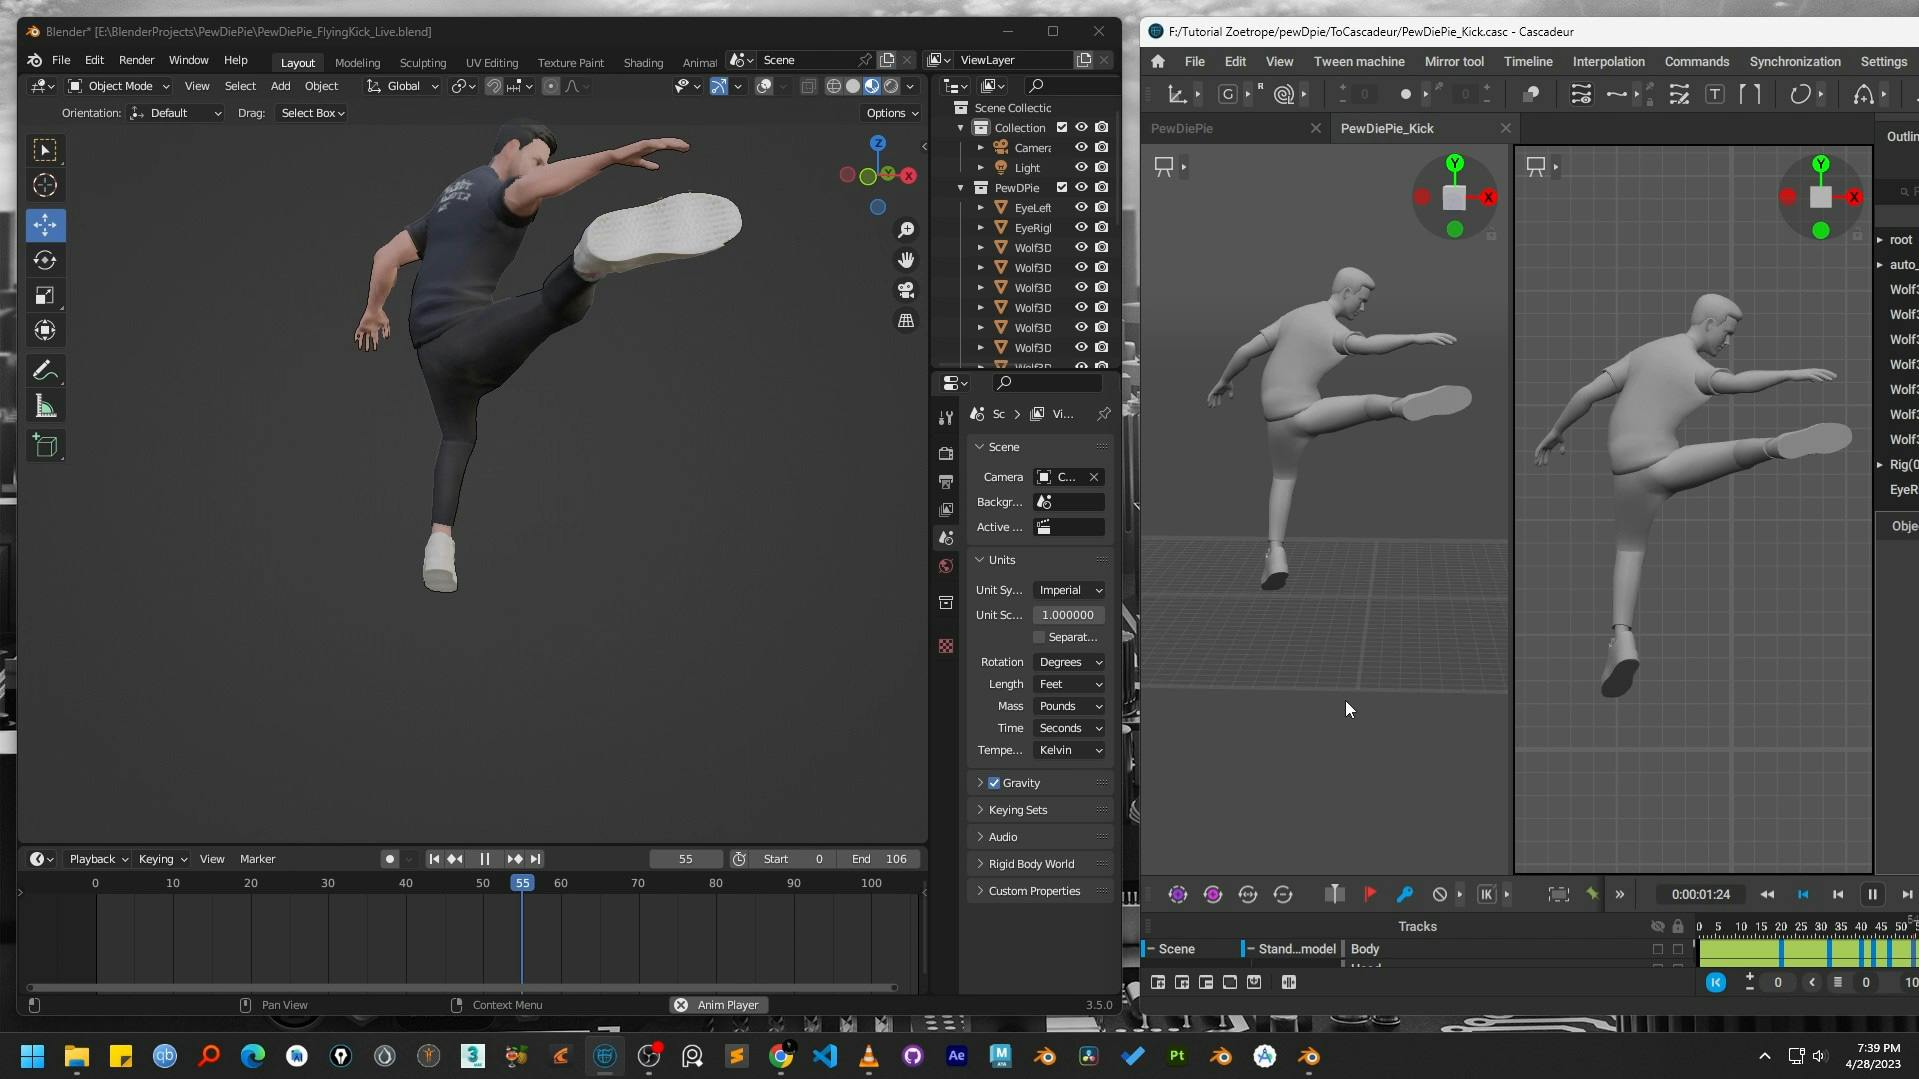
Learn the step-by-step process to retarget character animations from Cascadeur to Blender using the powerful Auto-Rig Pro addon. A complete workflow guide.
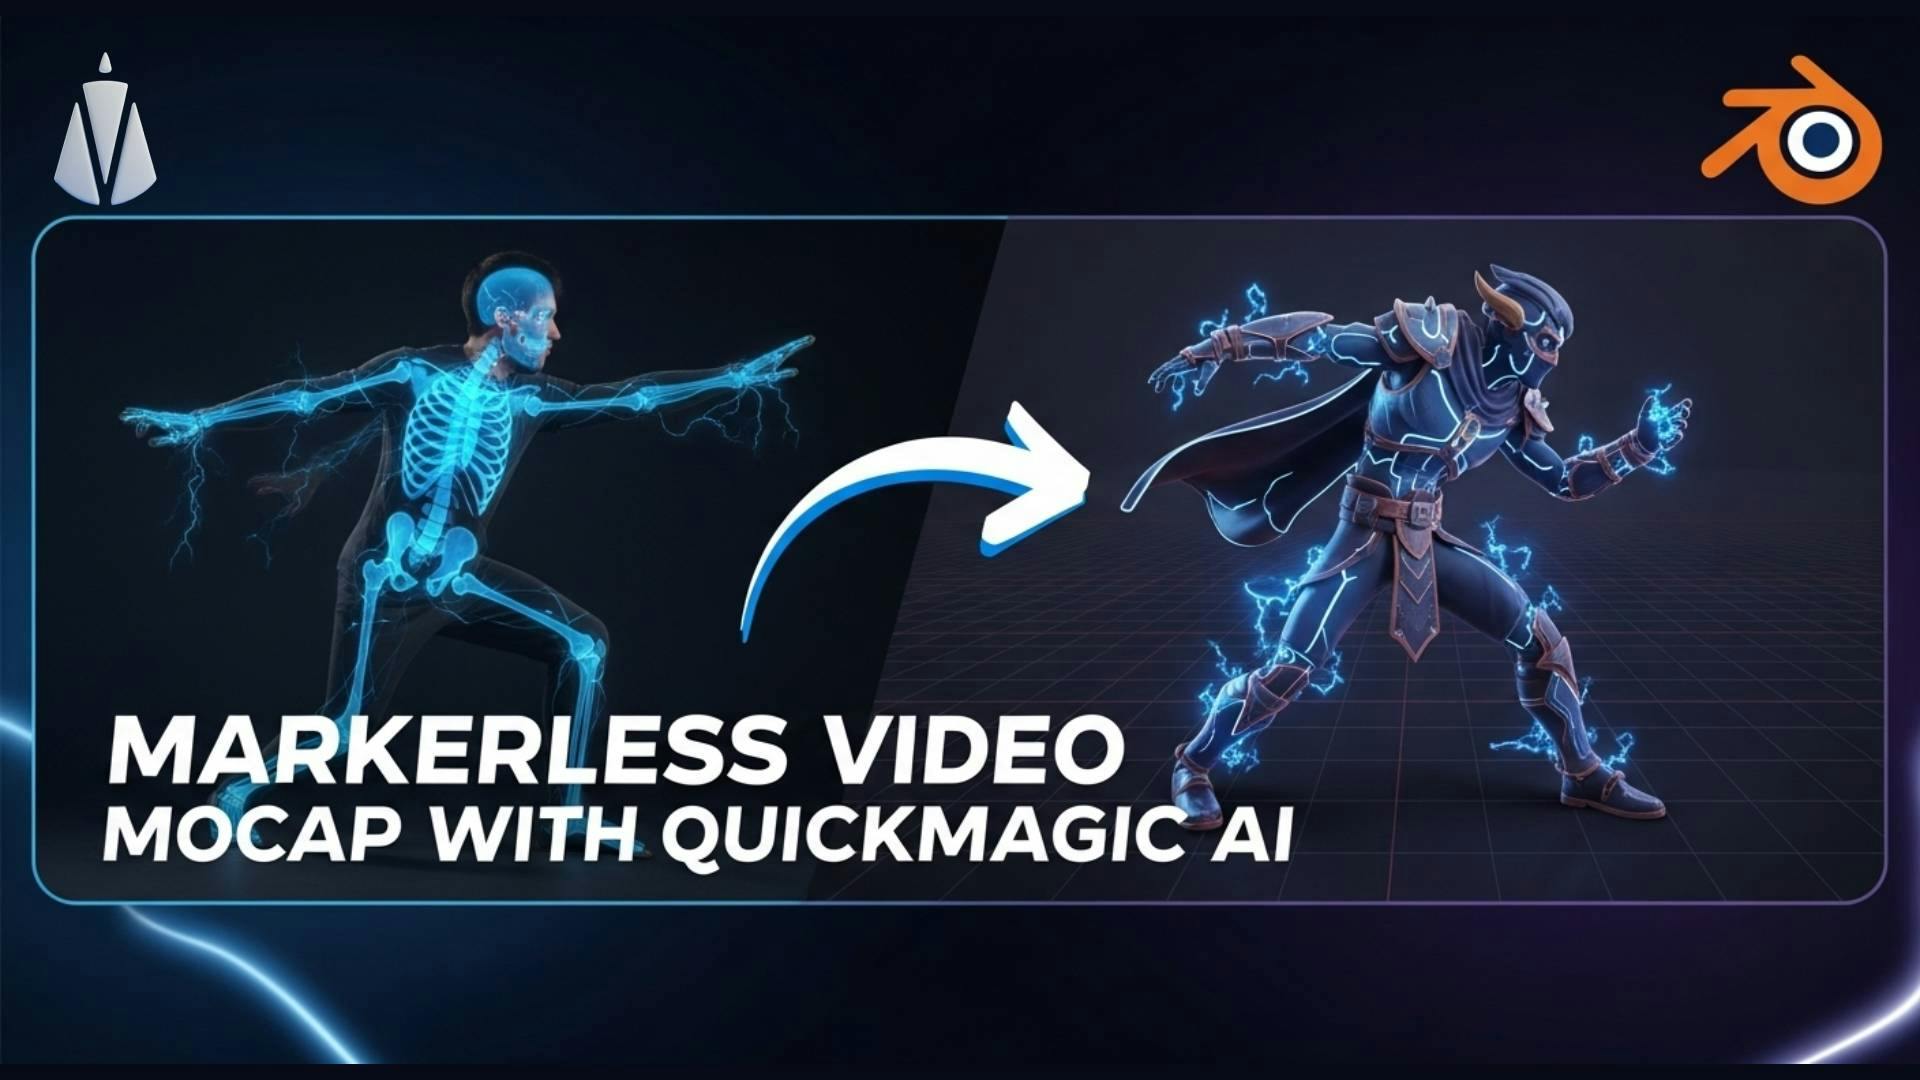
Tired of expensive mocap suits? Discover the power of QuickMagic AI for markerless motion capture and level up your Blender animations.

Learn the full 3D animation pipeline! This guide shows you how to take a Ready Player Me character, rig it in Blender with Auto-Rig Pro, and create stunning animations in Cascadeur